
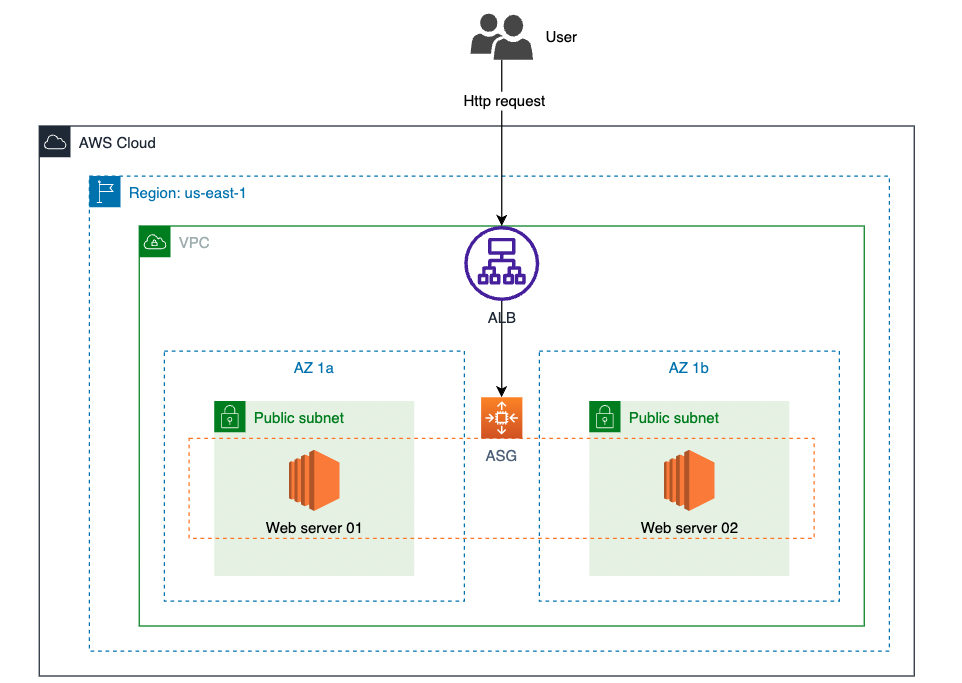
Application Load Balancer and EC2 Auto Scaling Group
Tiền đề
- Đã hoàn thành bài thực hành với Application Load Balancer
(Vì một số resource như Taget group, ALB, SG được tạo ở bài trước nên nếu muốn thực hành bài này, đầu tiên phải làm bài Application Load Balancer)
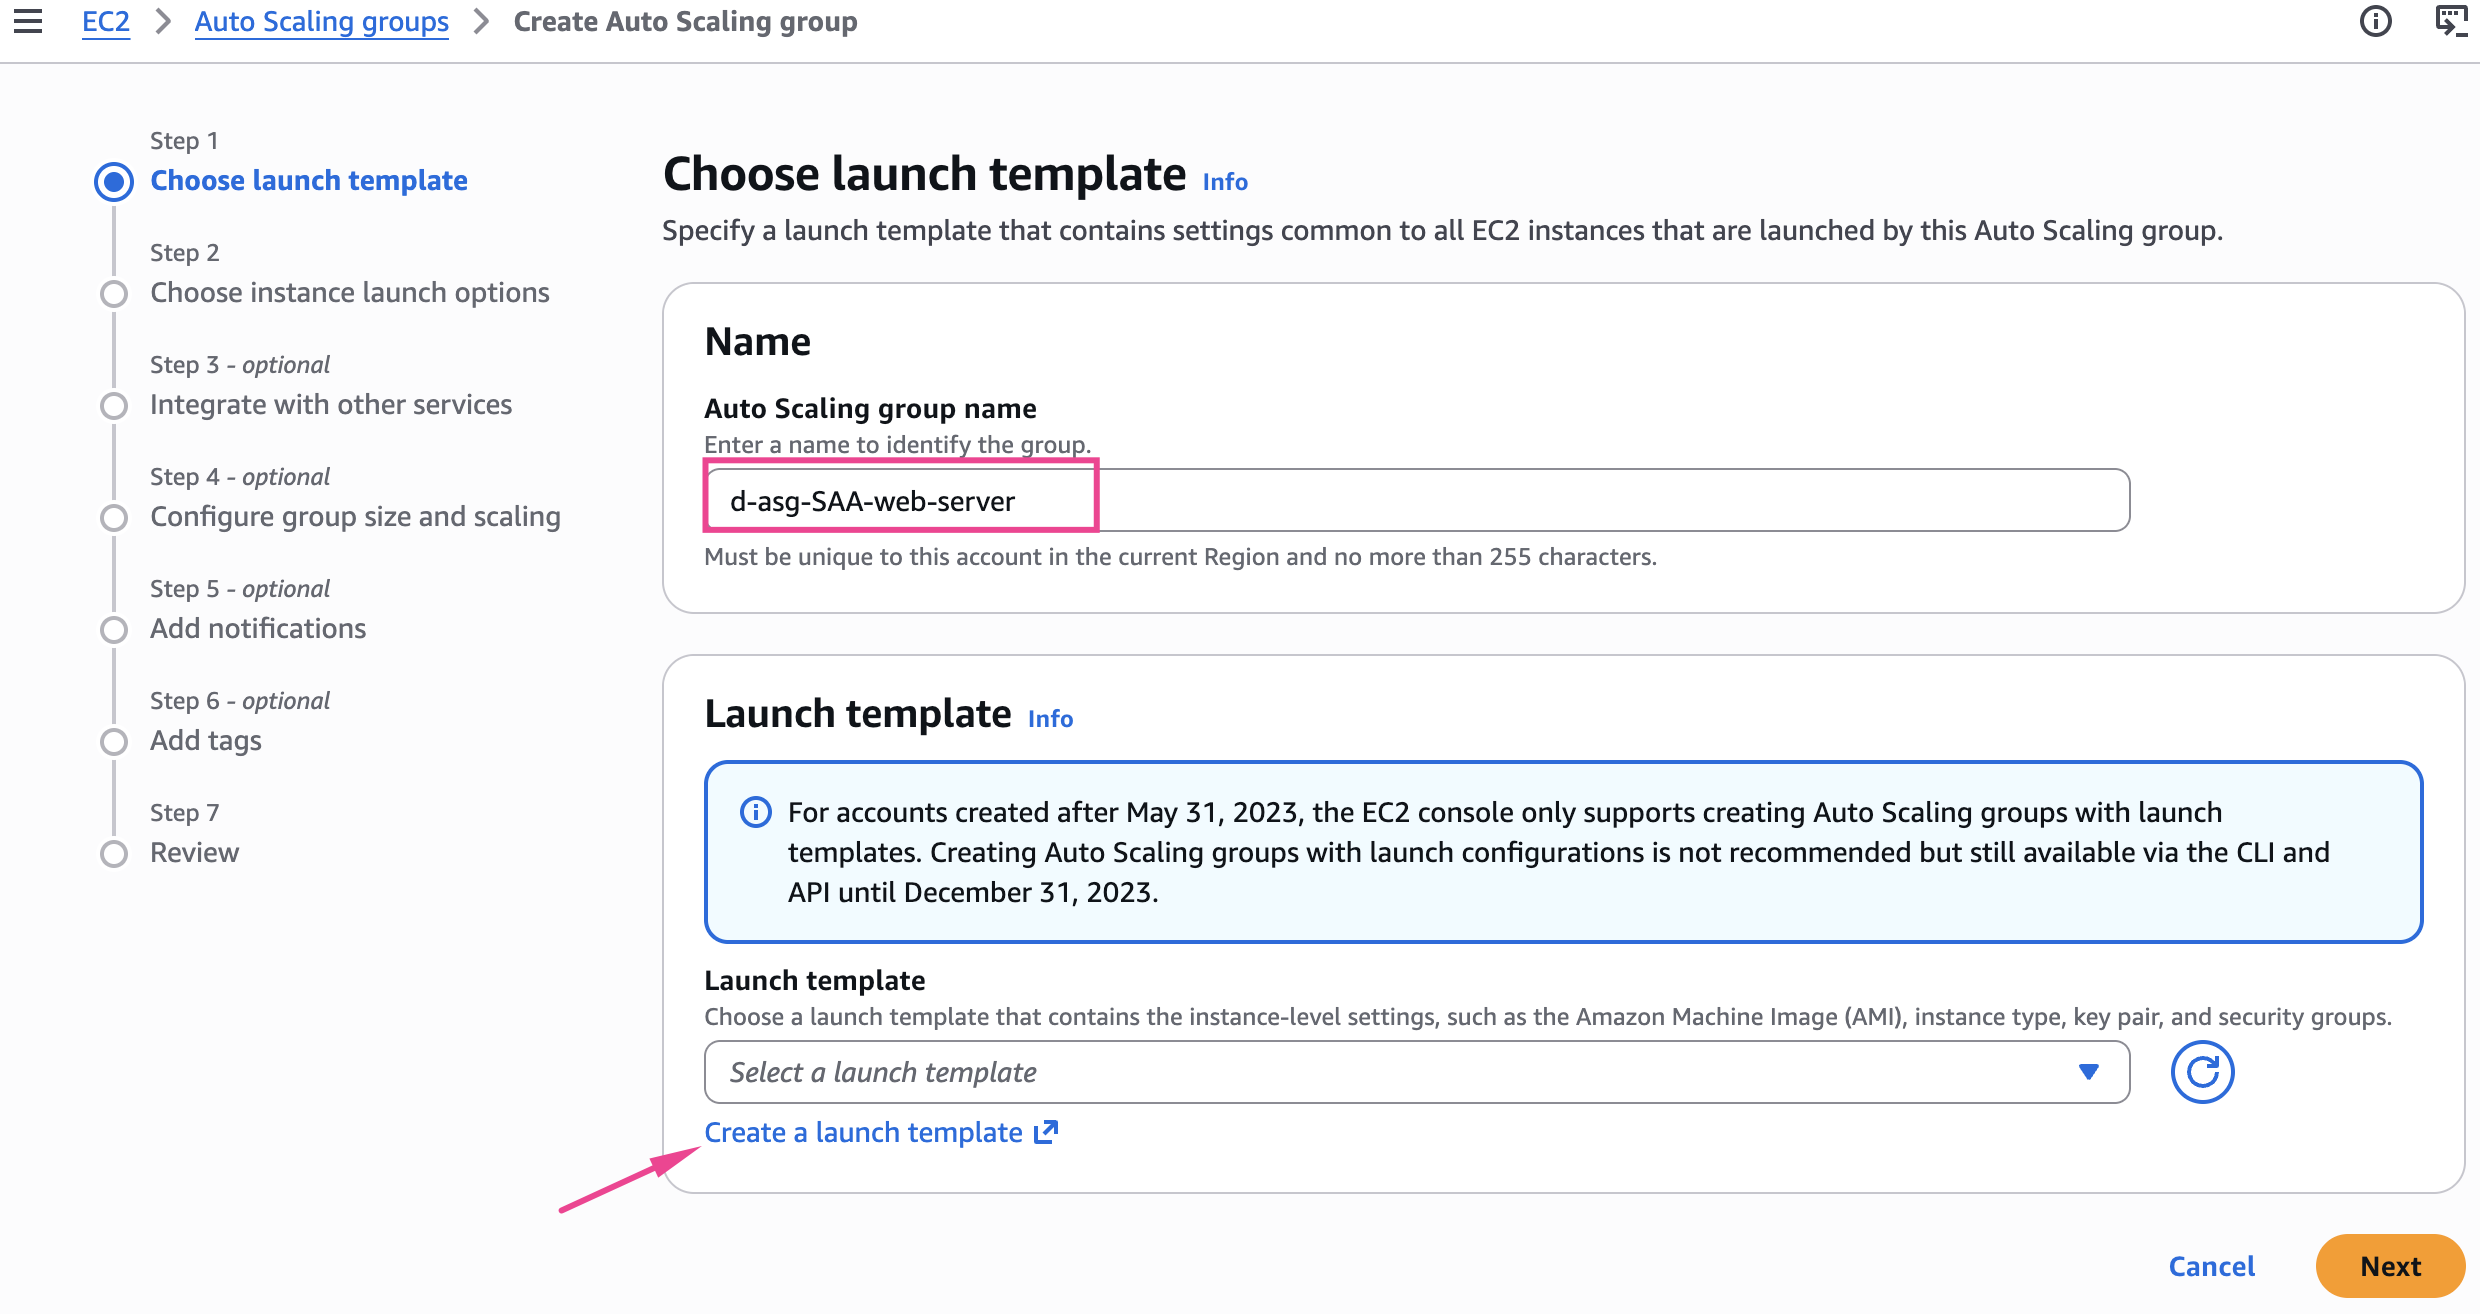
Create Auto Scaling group
Parametter Setting
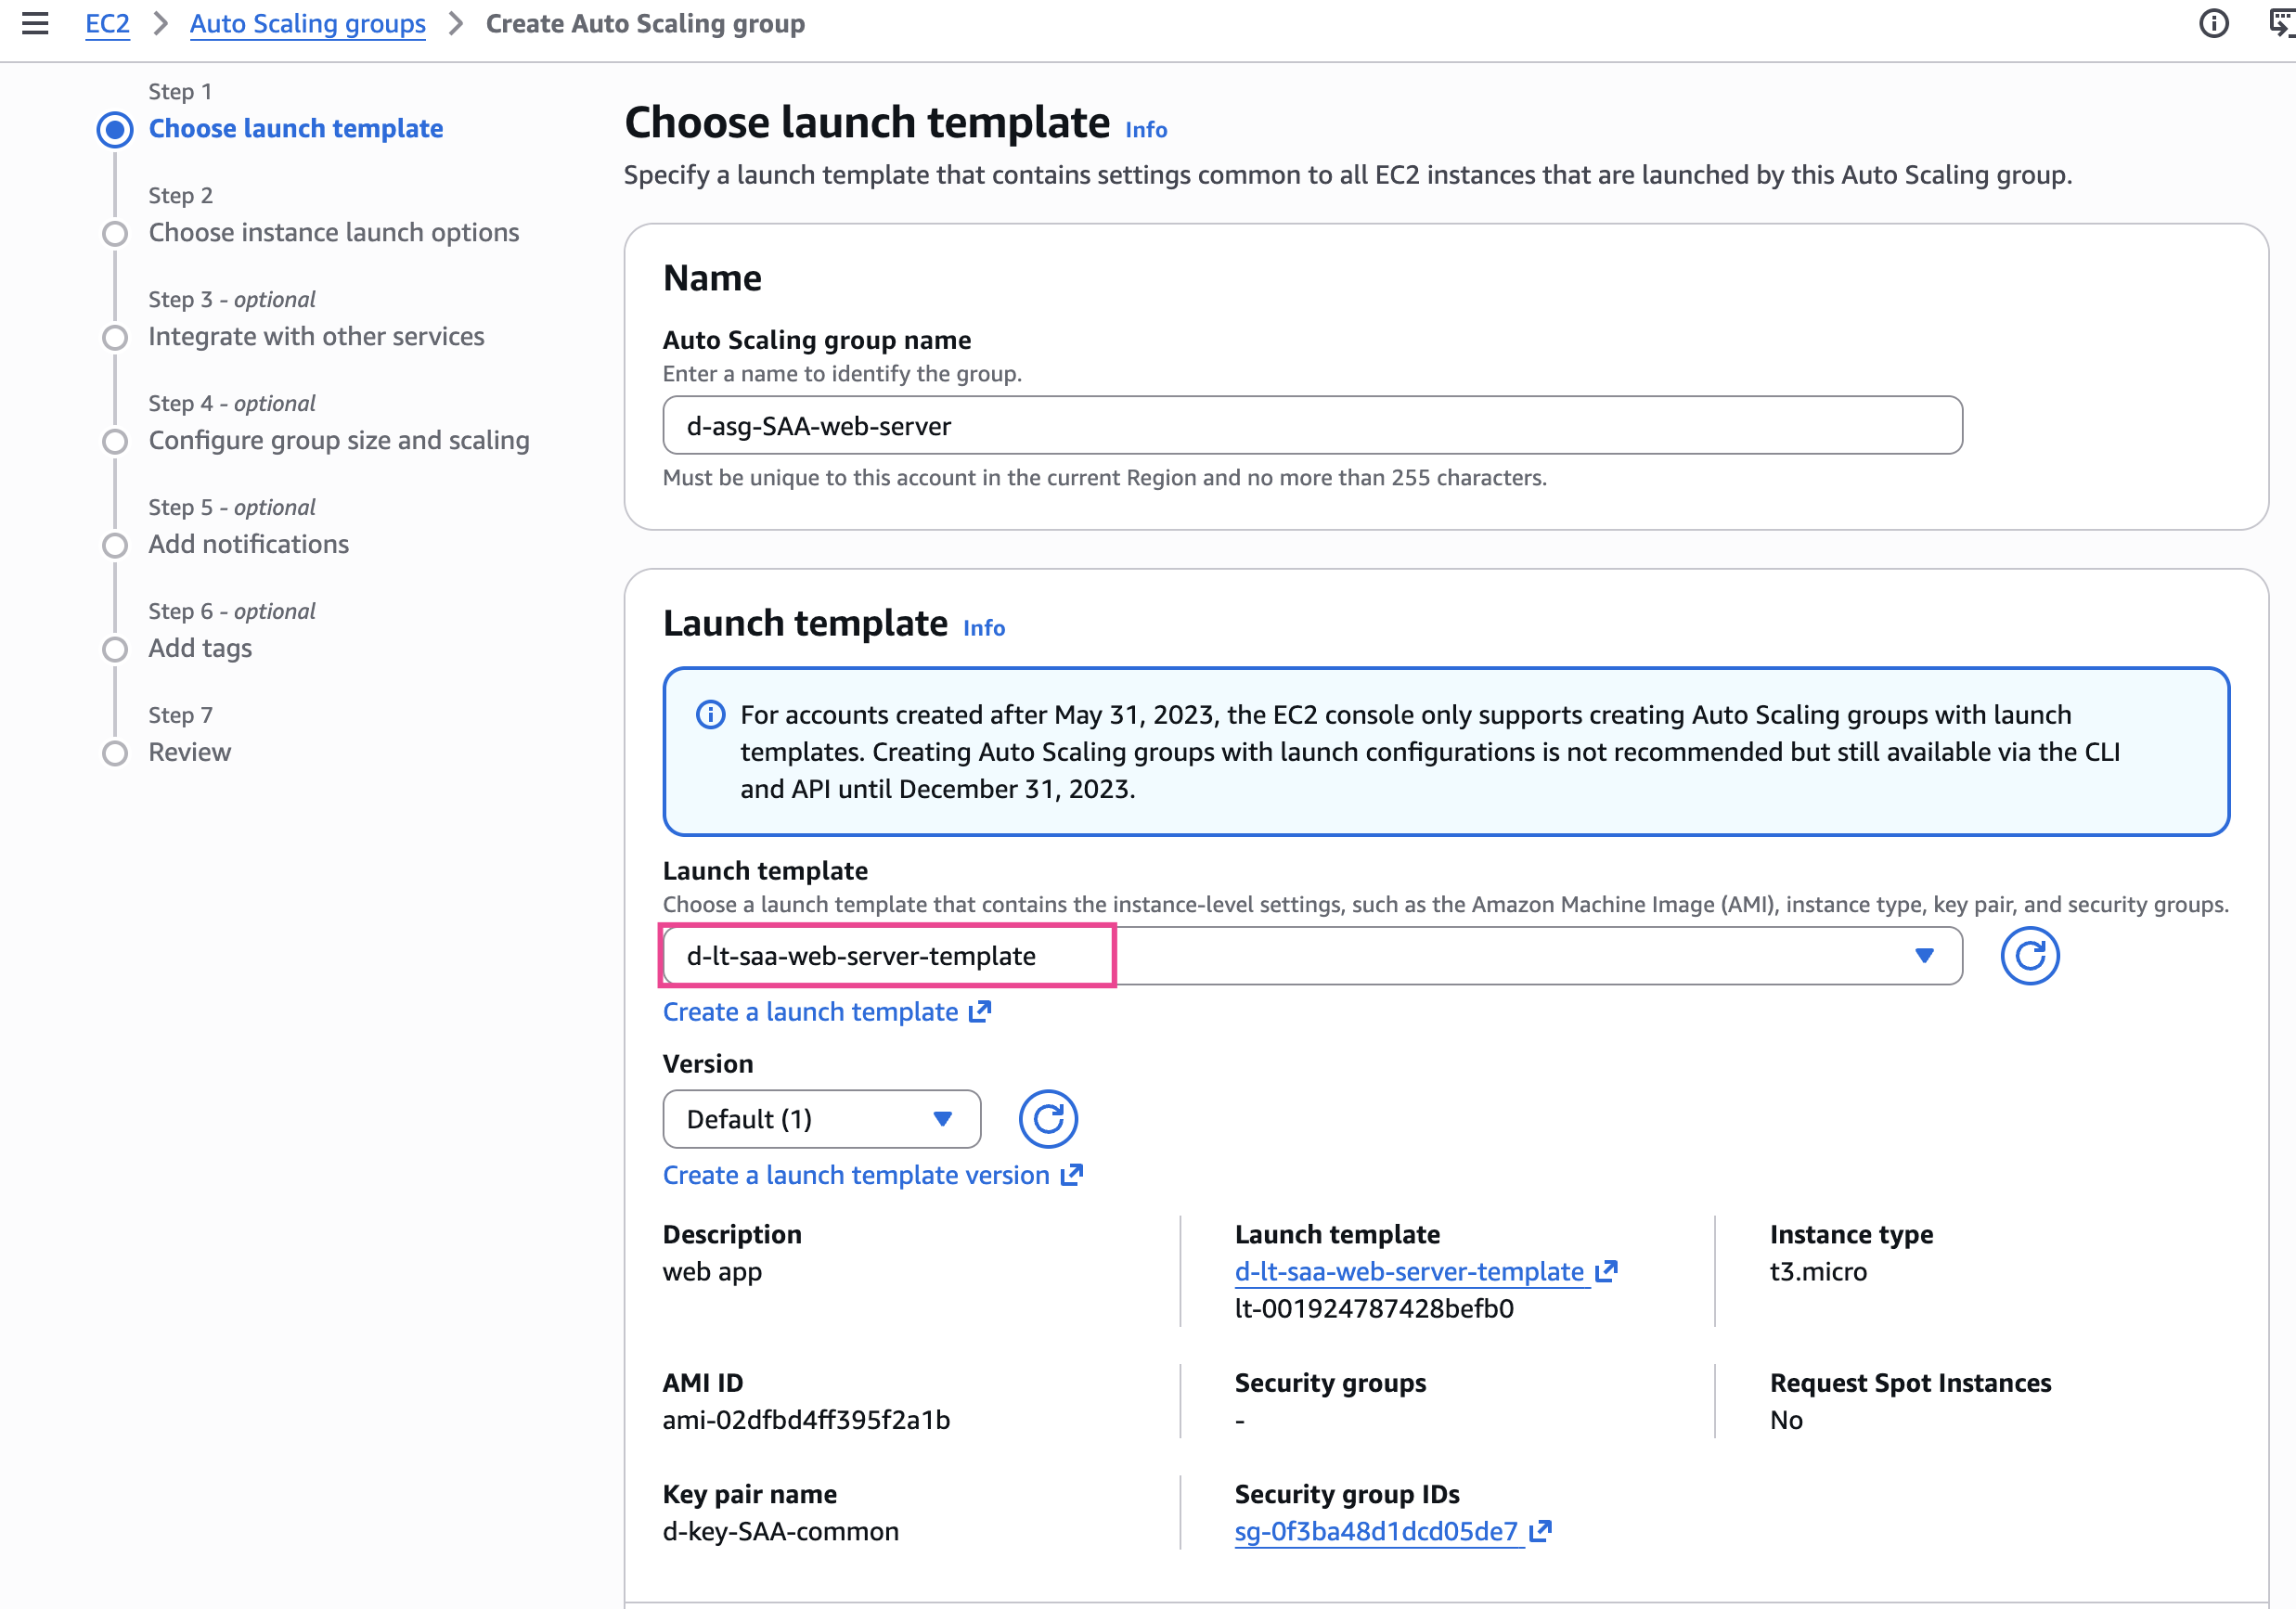
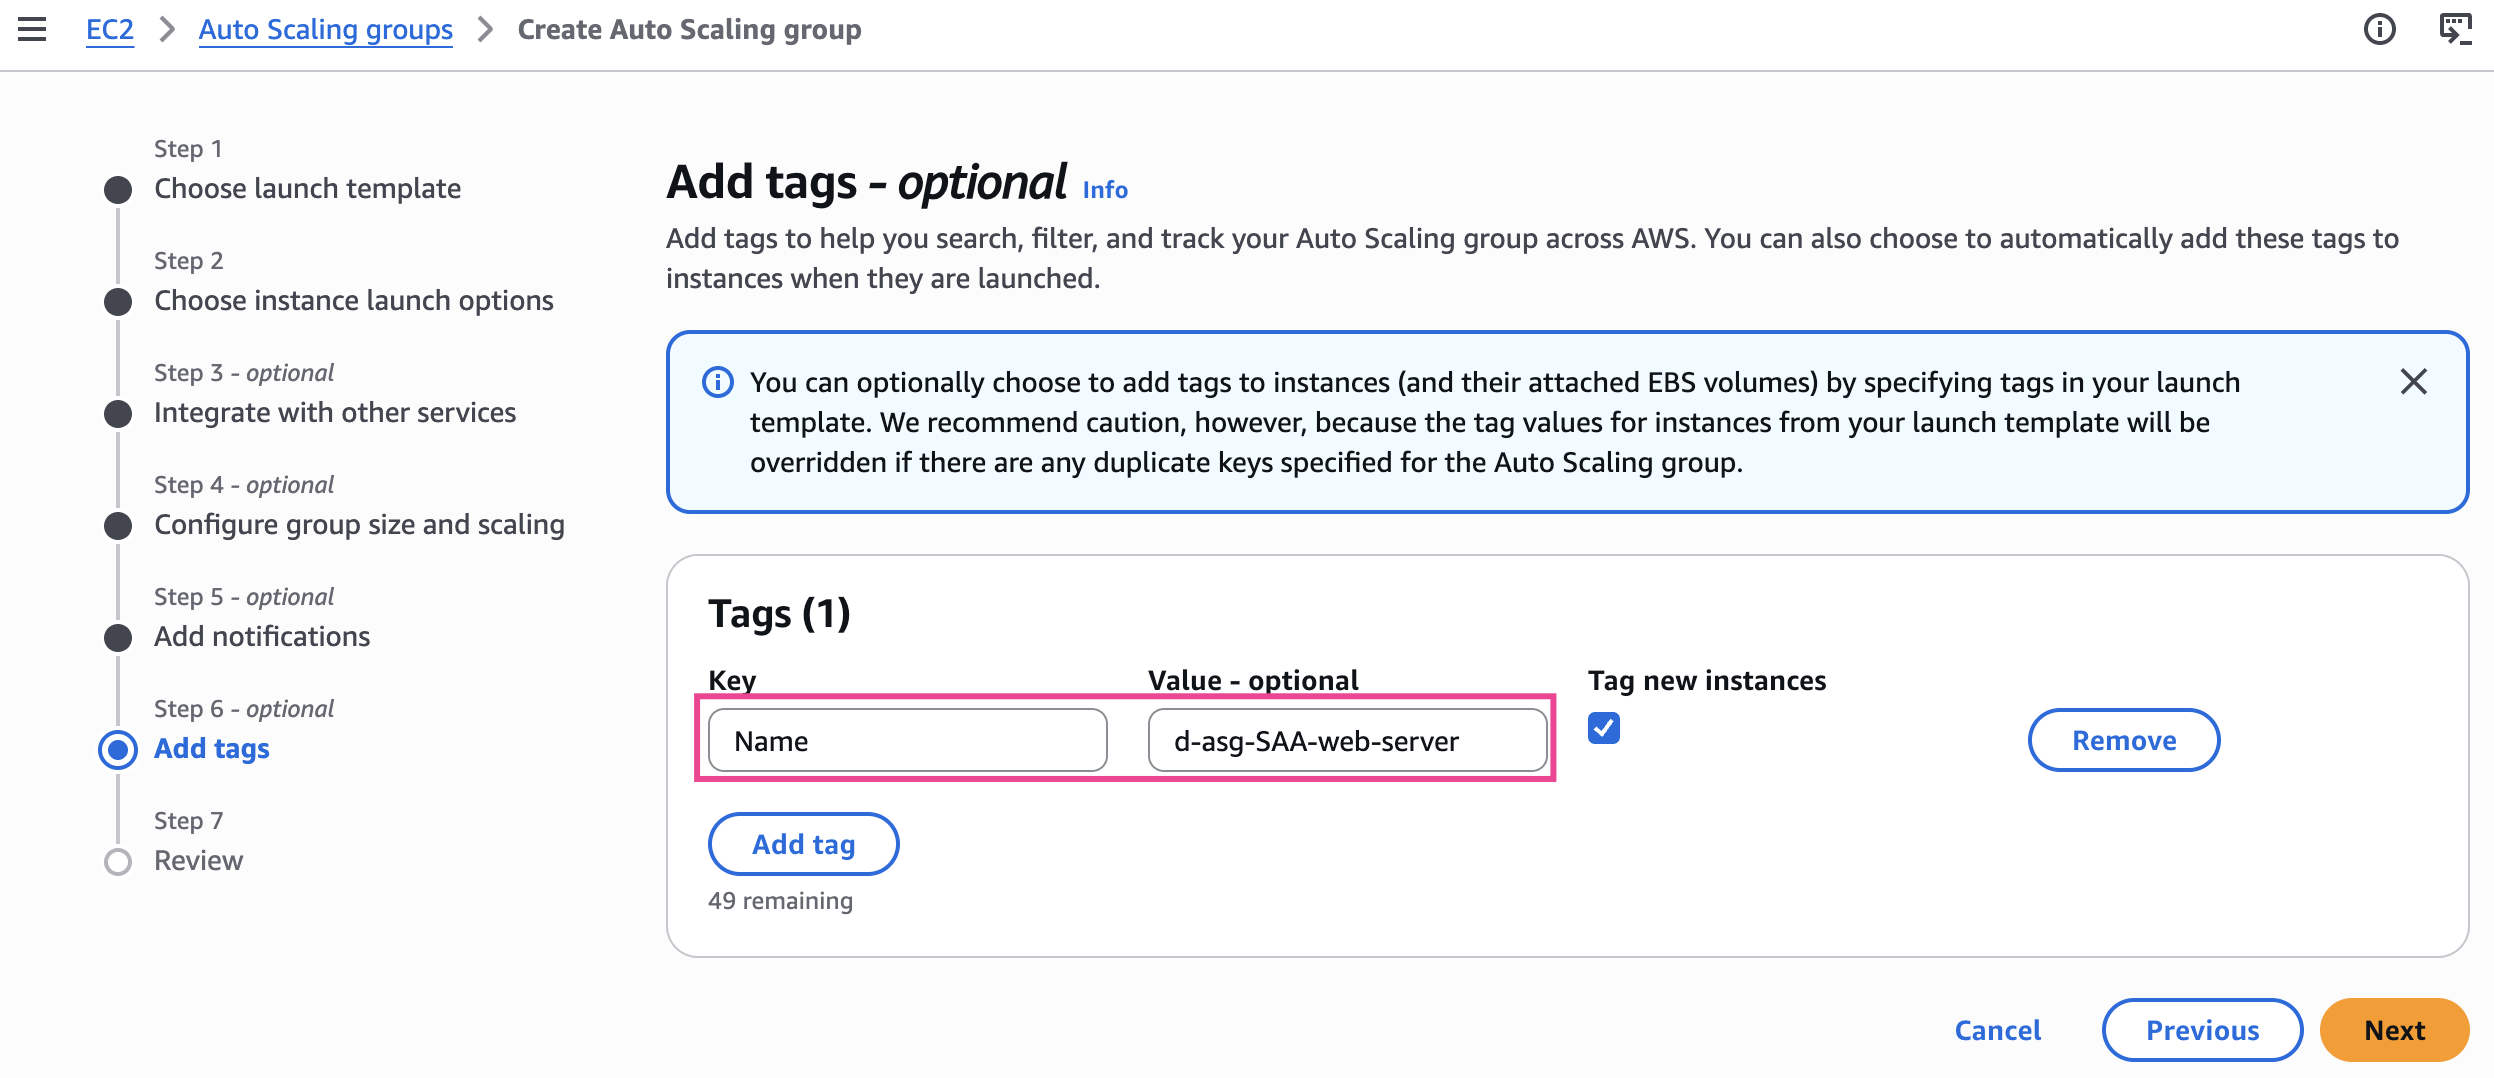
- Auto Scaling group name:
d-asg-SAA-web-server - Create launch template:
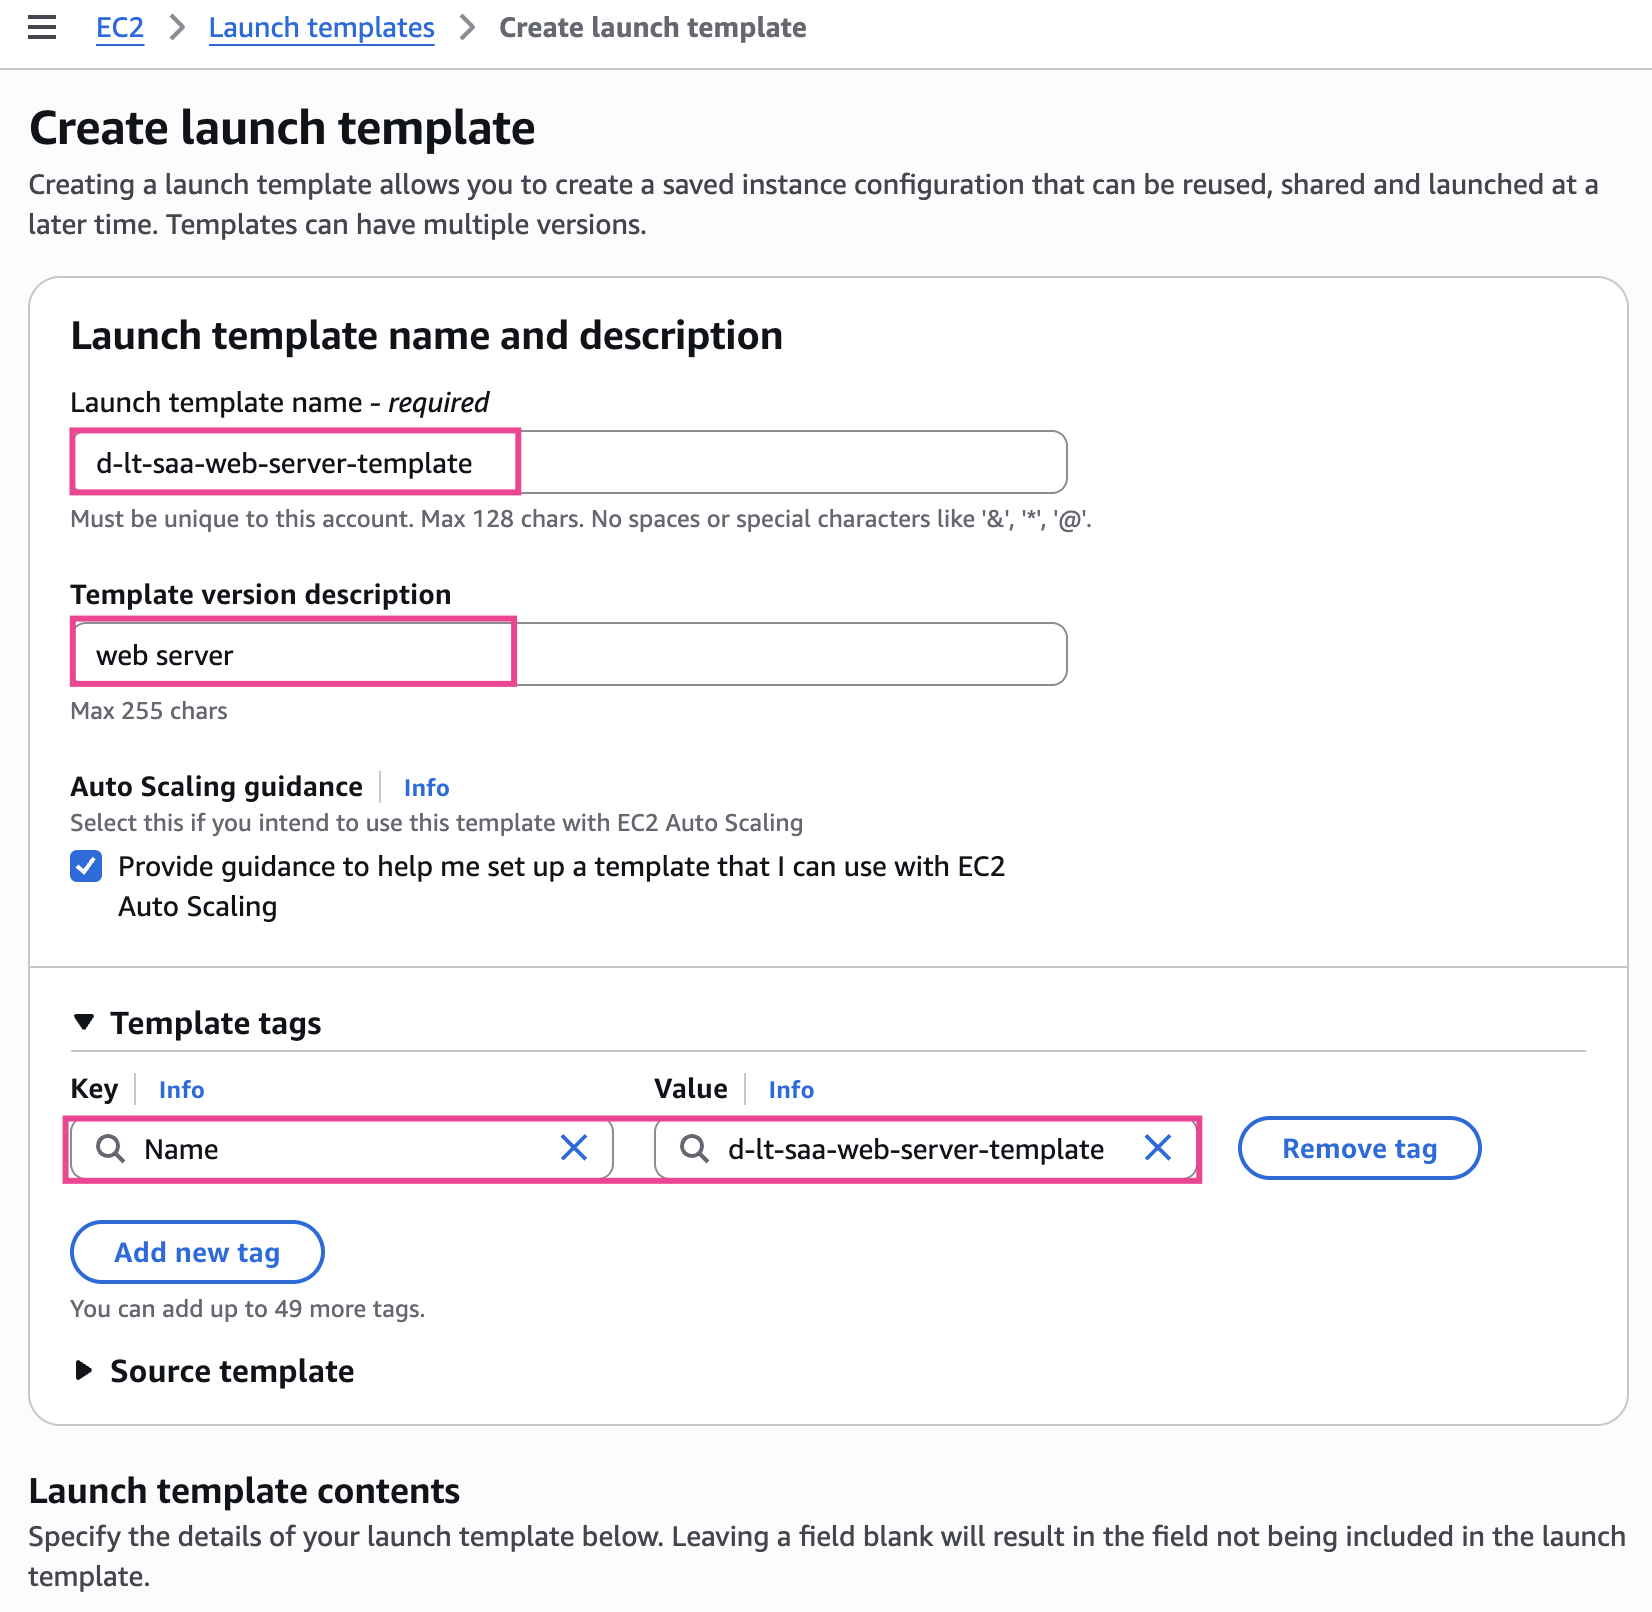
- Template name:
d-lt-saa-web-server-template - Template version description:
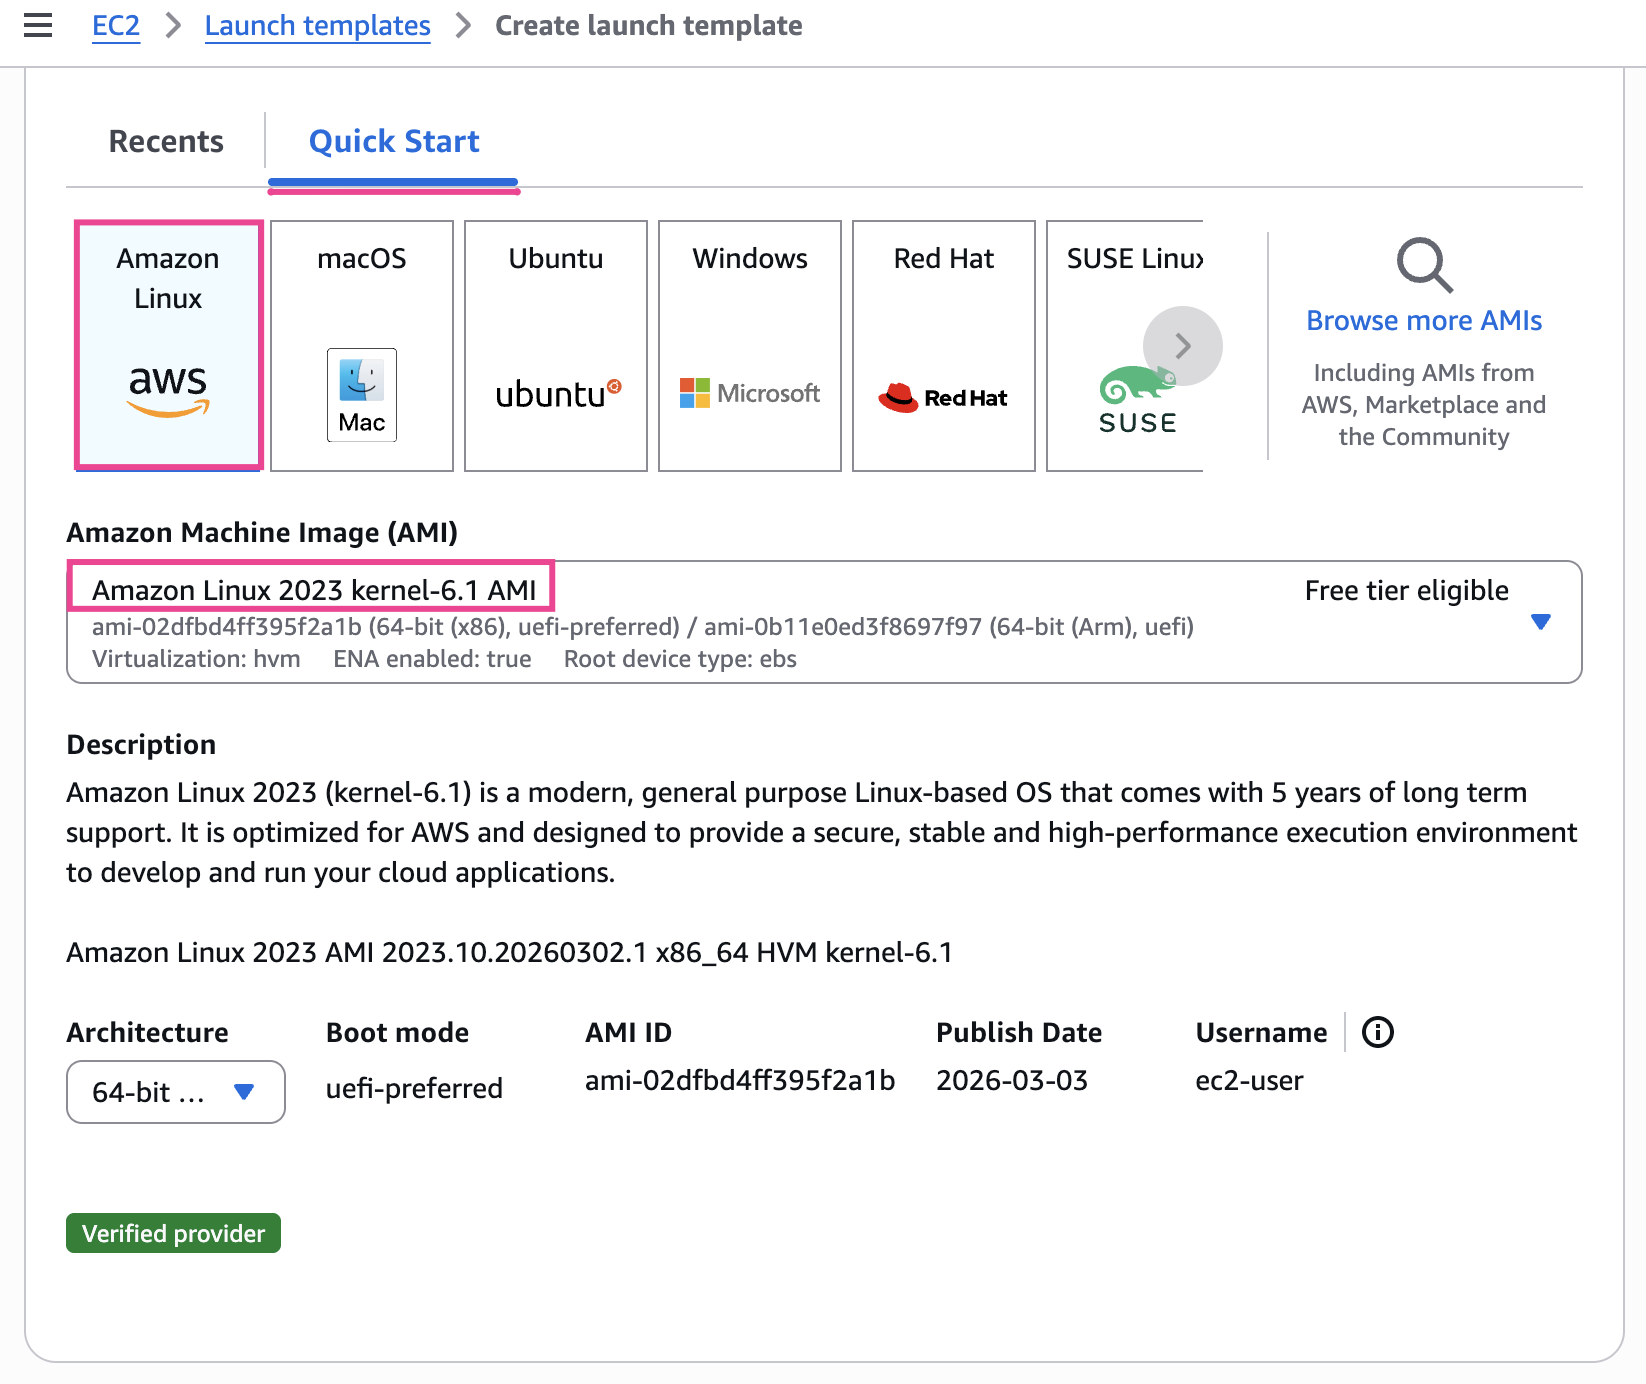
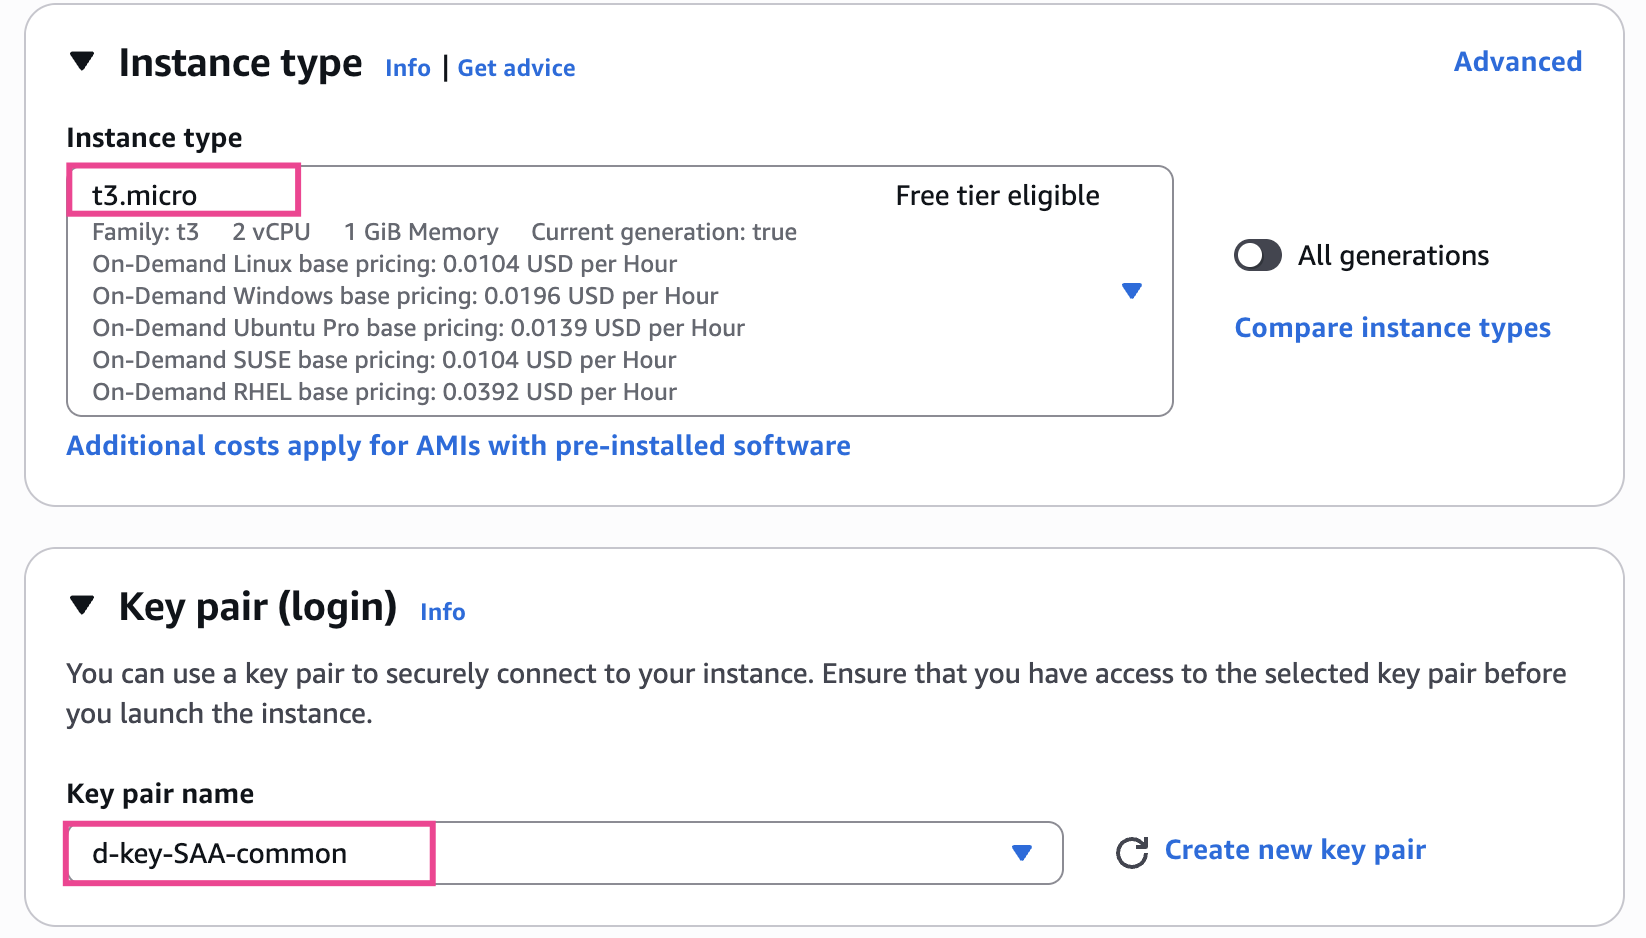
web server - AMI:
Amazon Linux 2023 - Instance Type:
t3.micro - Keypair:
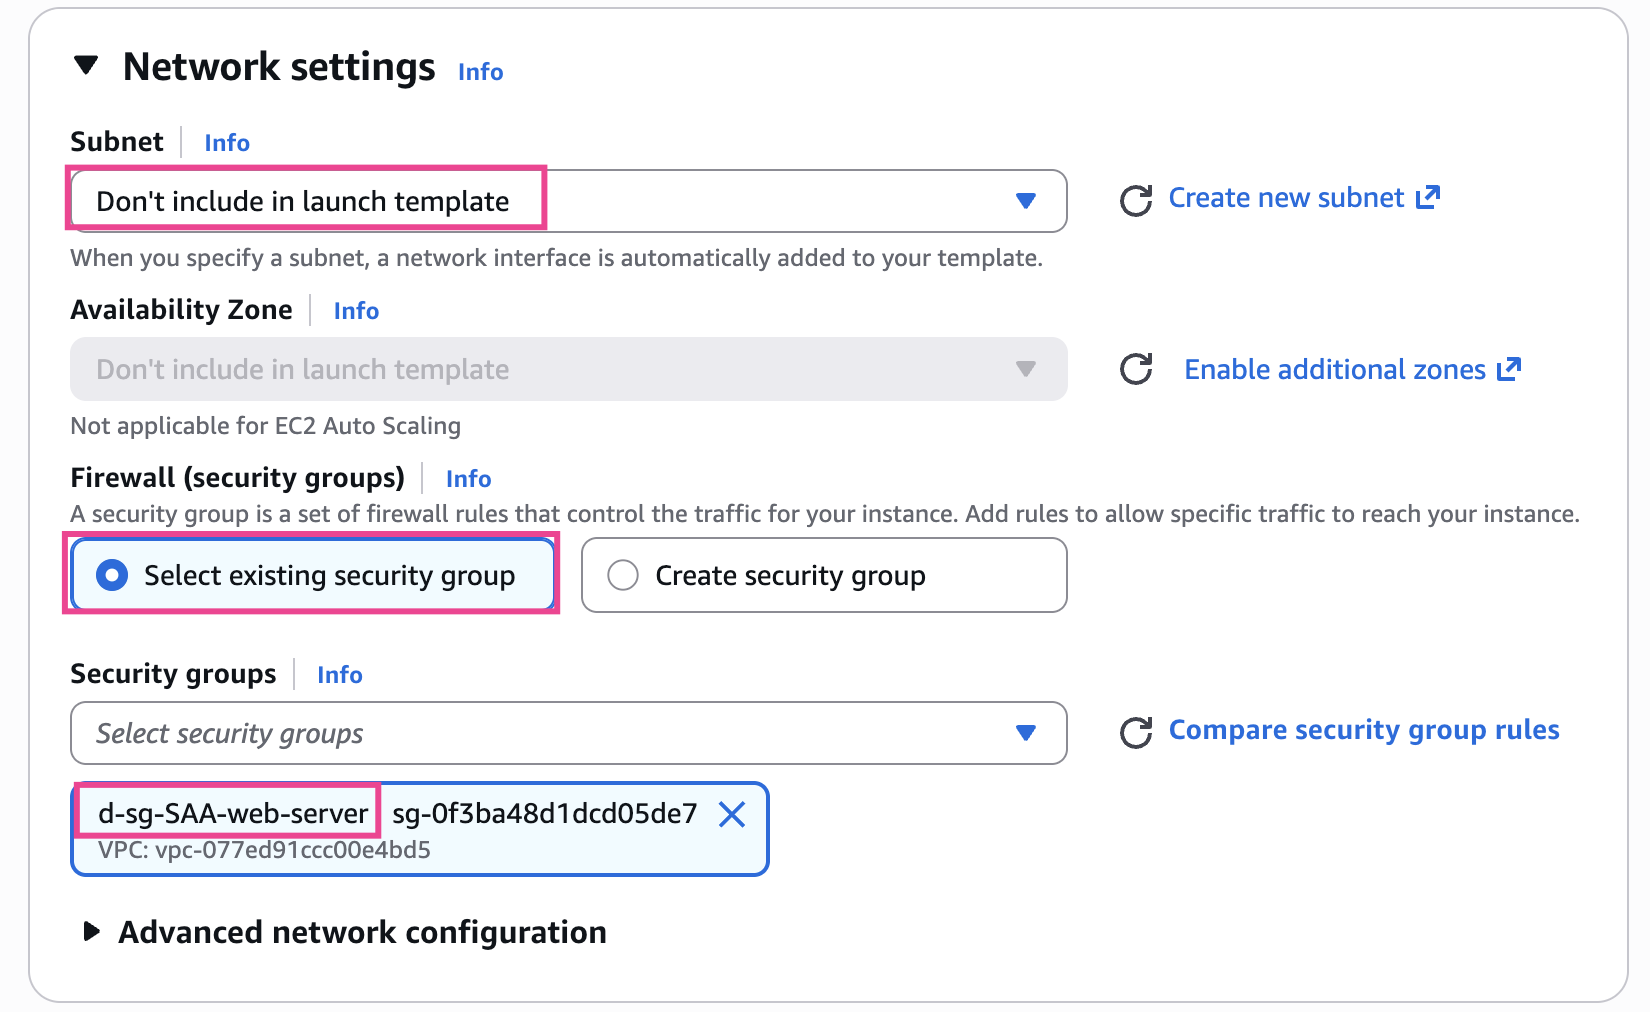
d-key-SAA-common - Security Group:
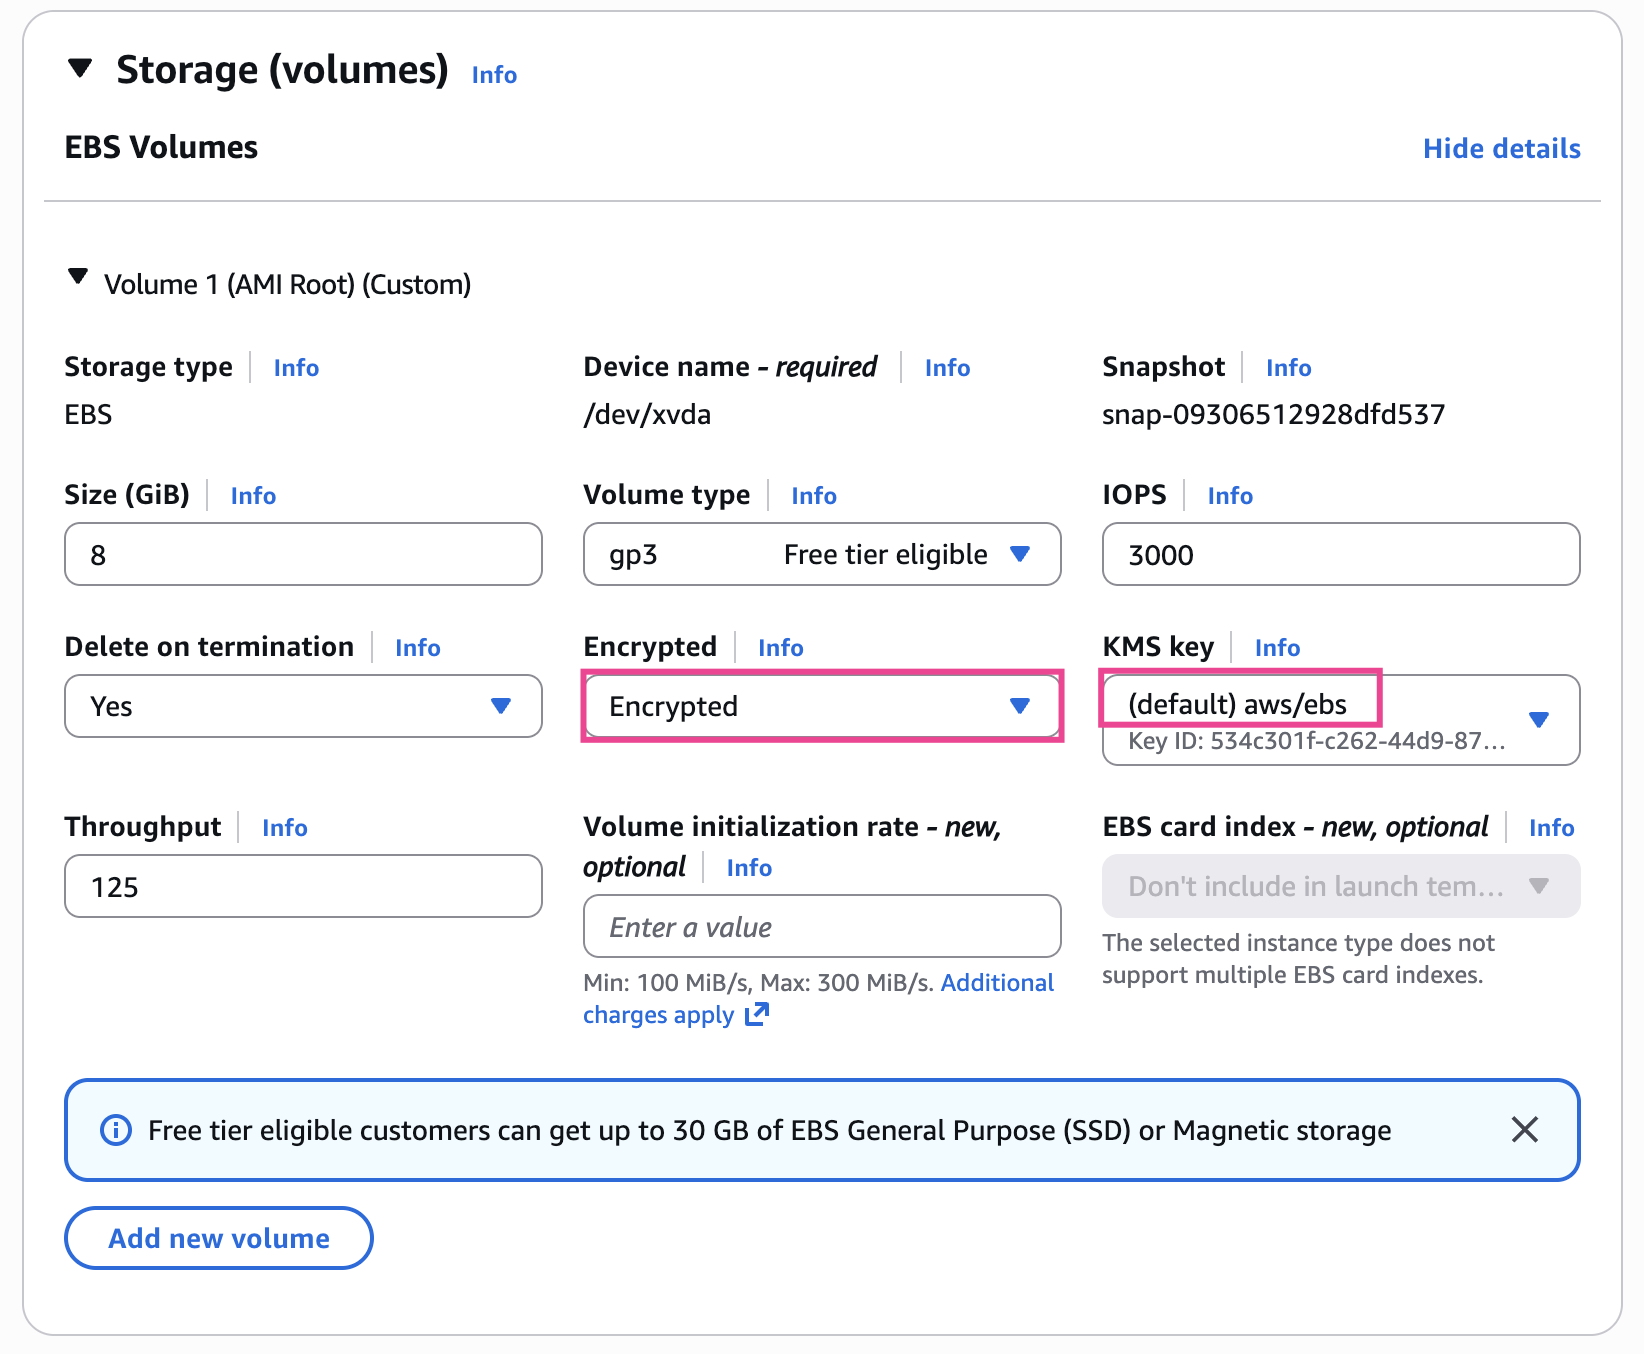
d-sg-SAA-web-server - Storage (volume): Encrypted
- KMS key: (default) aws/ebs
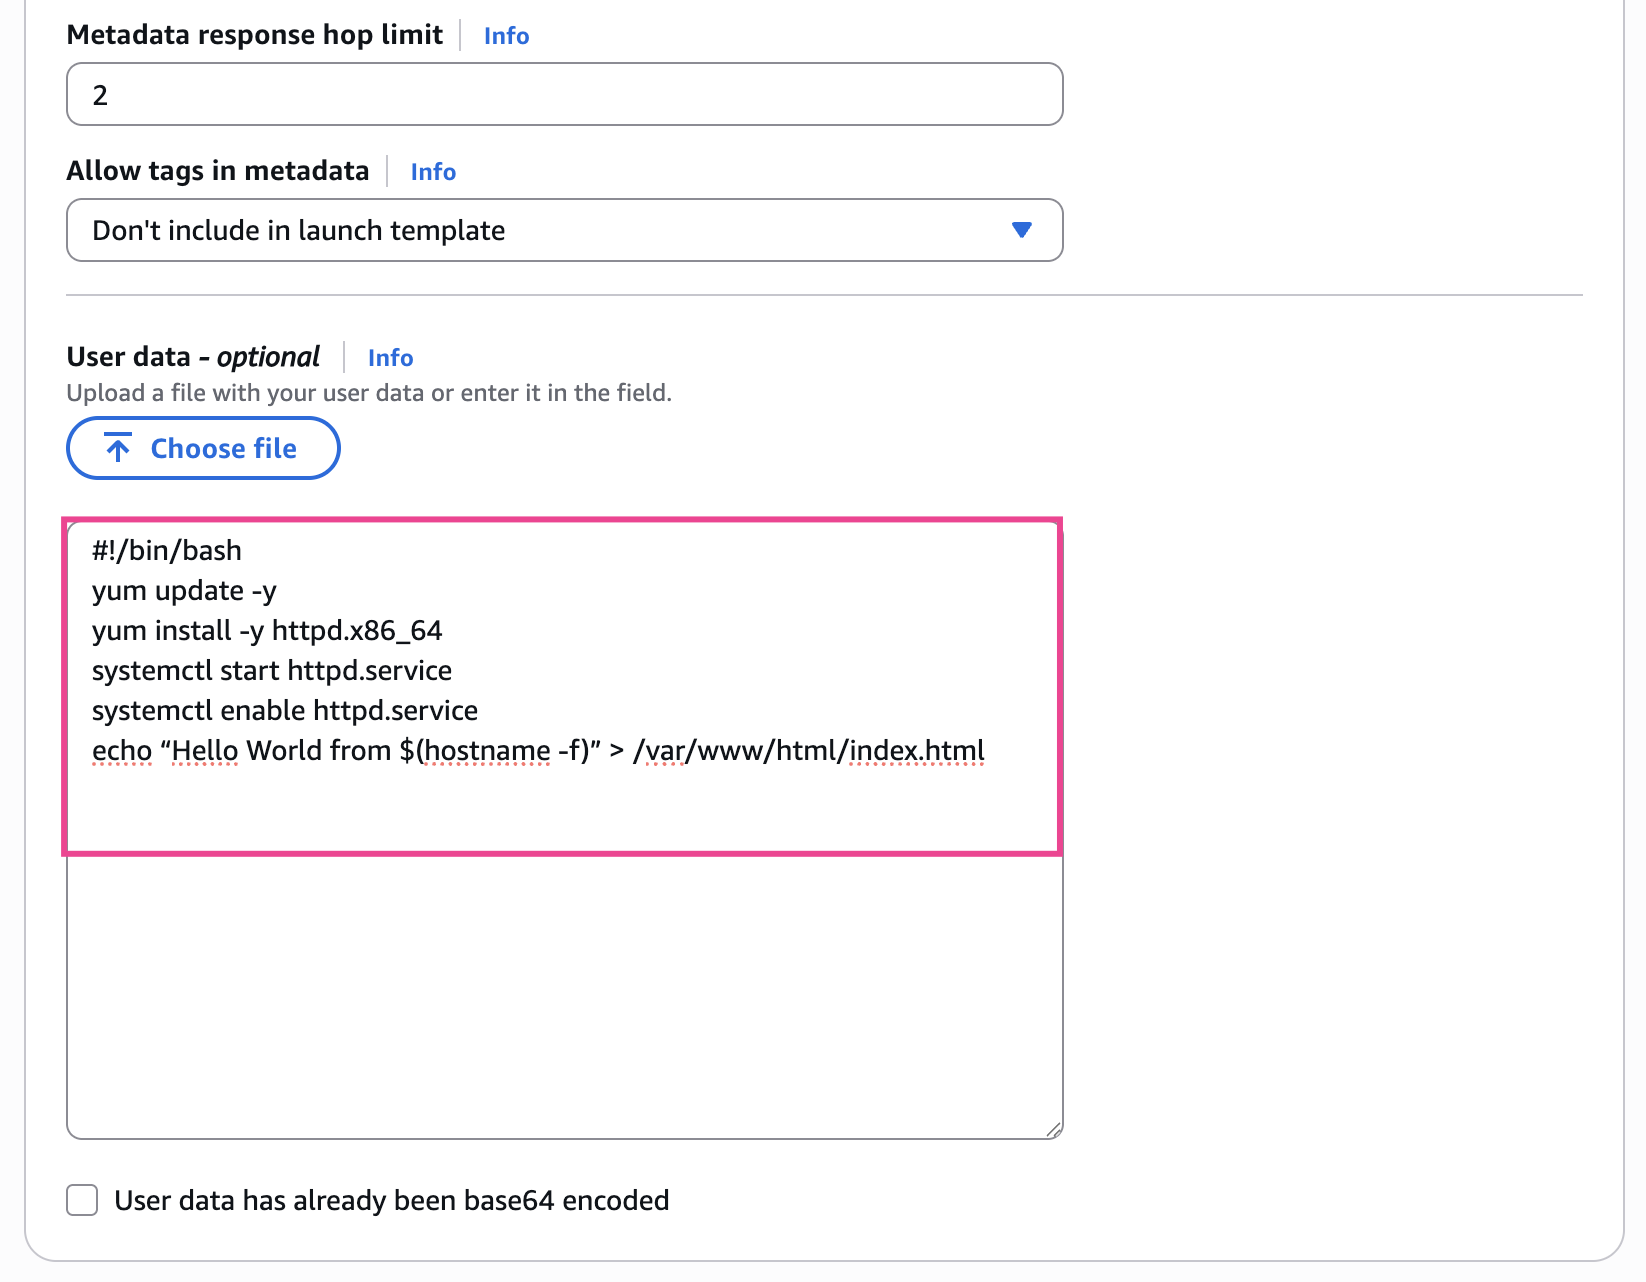
- User data:
- Template name:
#!/bin/bash
yum update -y
yum install -y httpd.x86_64
systemctl start httpd.service
systemctl enable httpd.service
echo “Hello World from $(hostname -f)” > /var/www/html/index.html
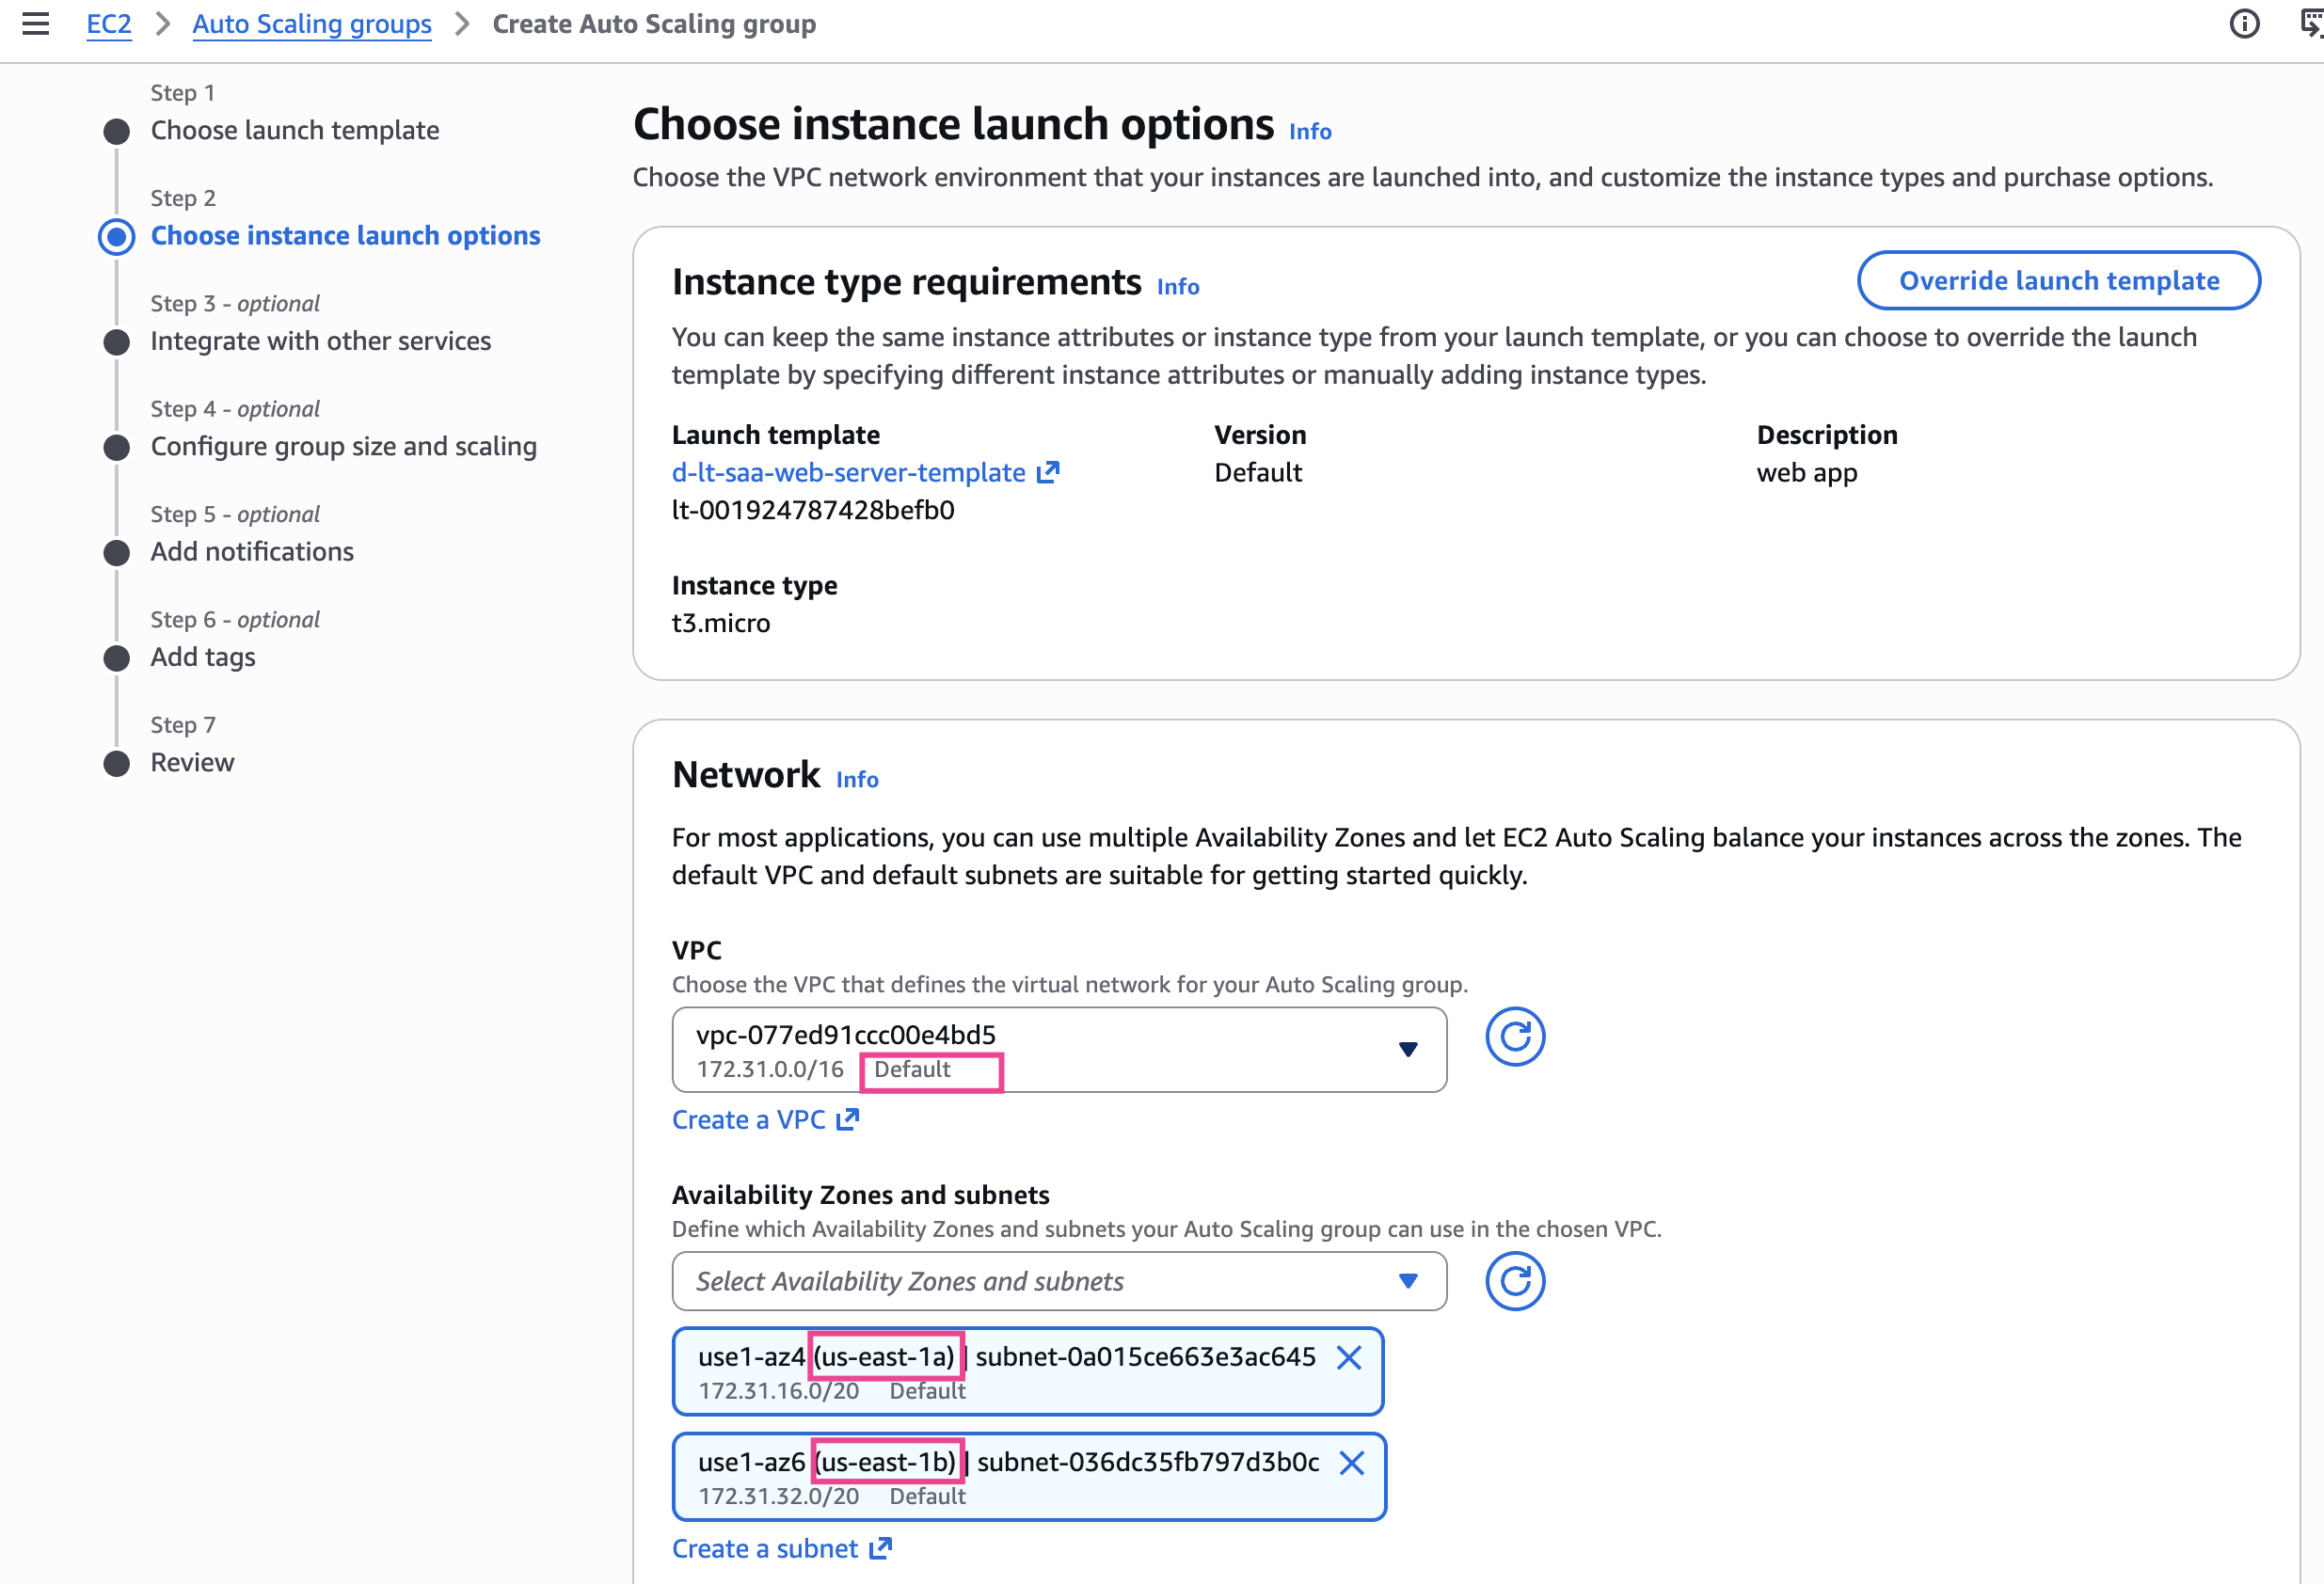
- Network mapping:
- VPC:
Chọn default VPC - AZ: Chọn
us-east-1avàus-east-1b
- VPC:
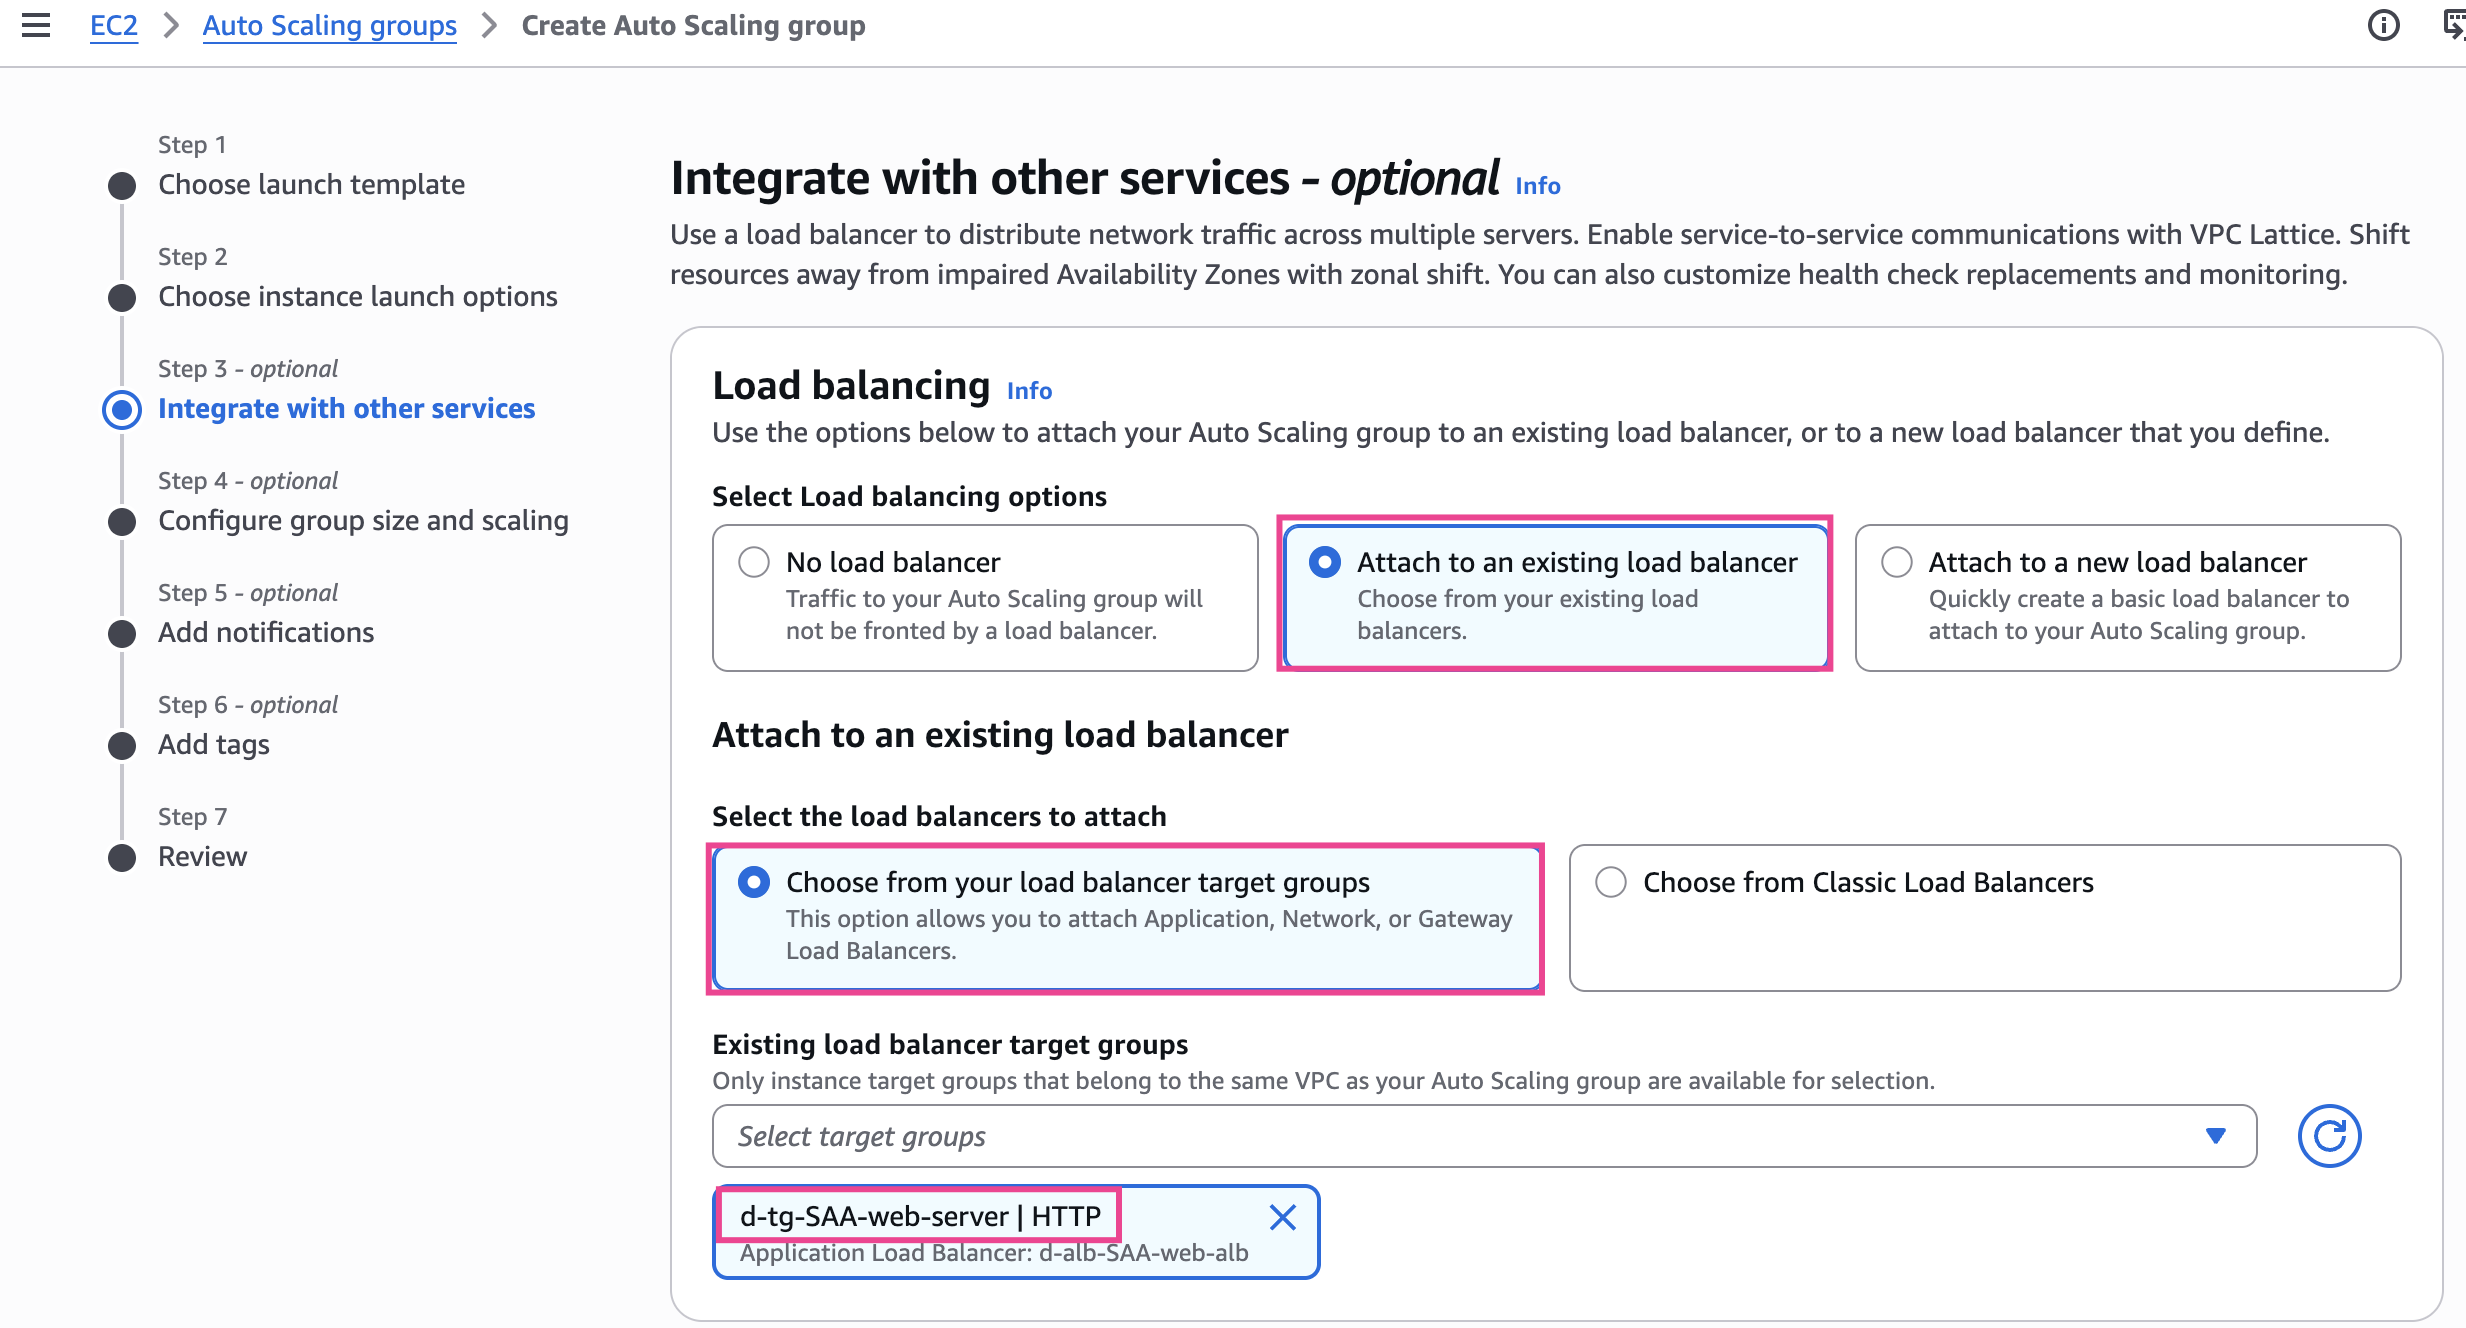
- Load balancer
- Attach to an existing load balancer
- Chọn target group đã tạo
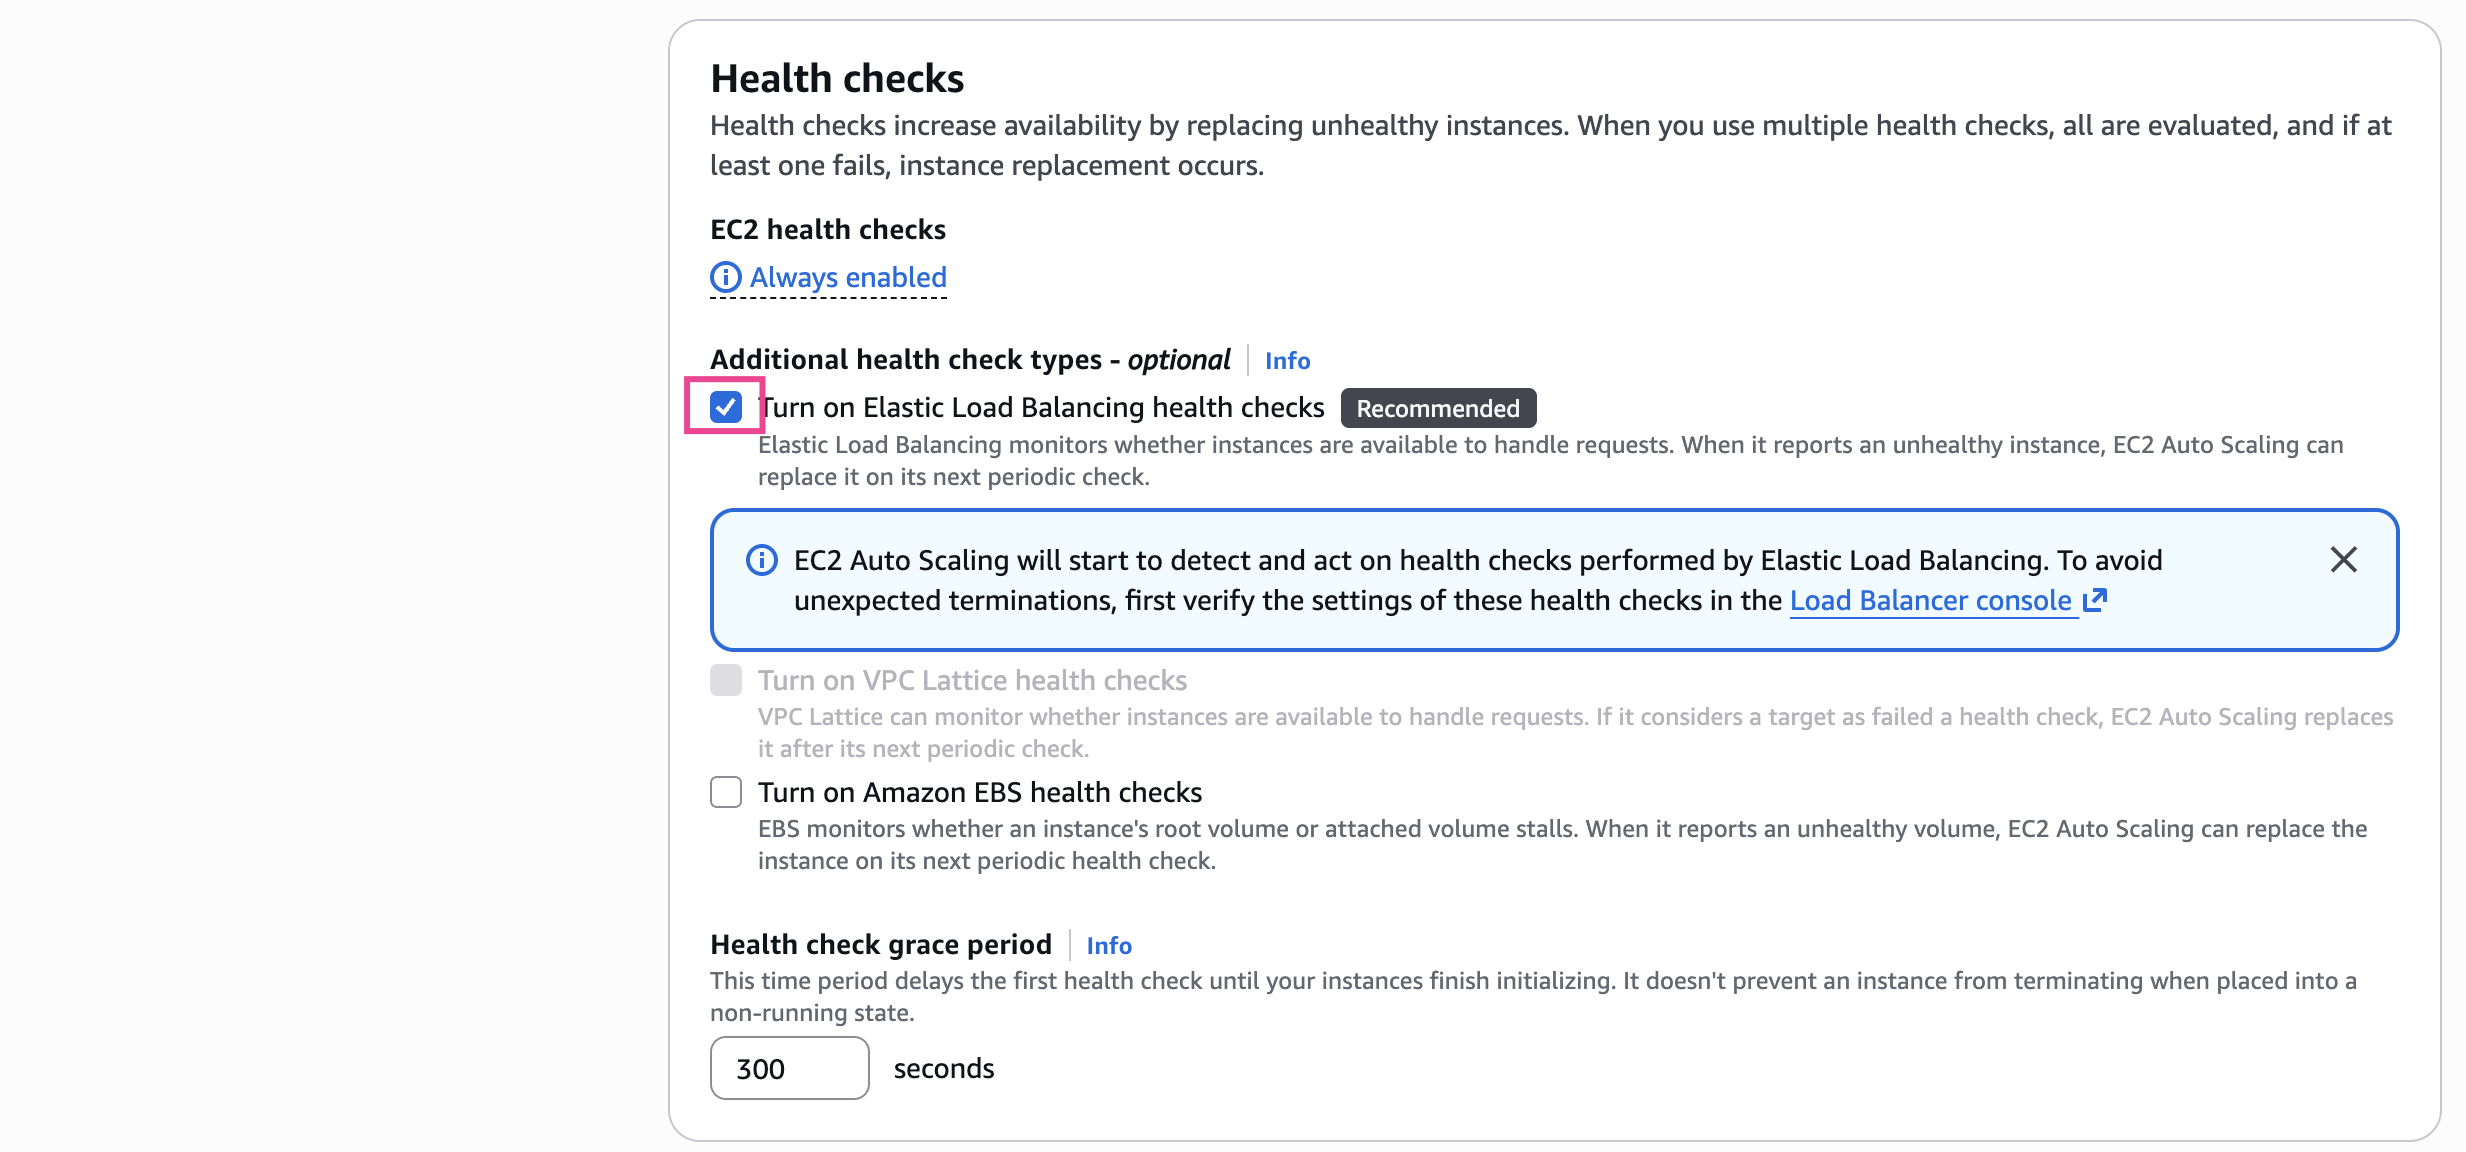
- Health check elb
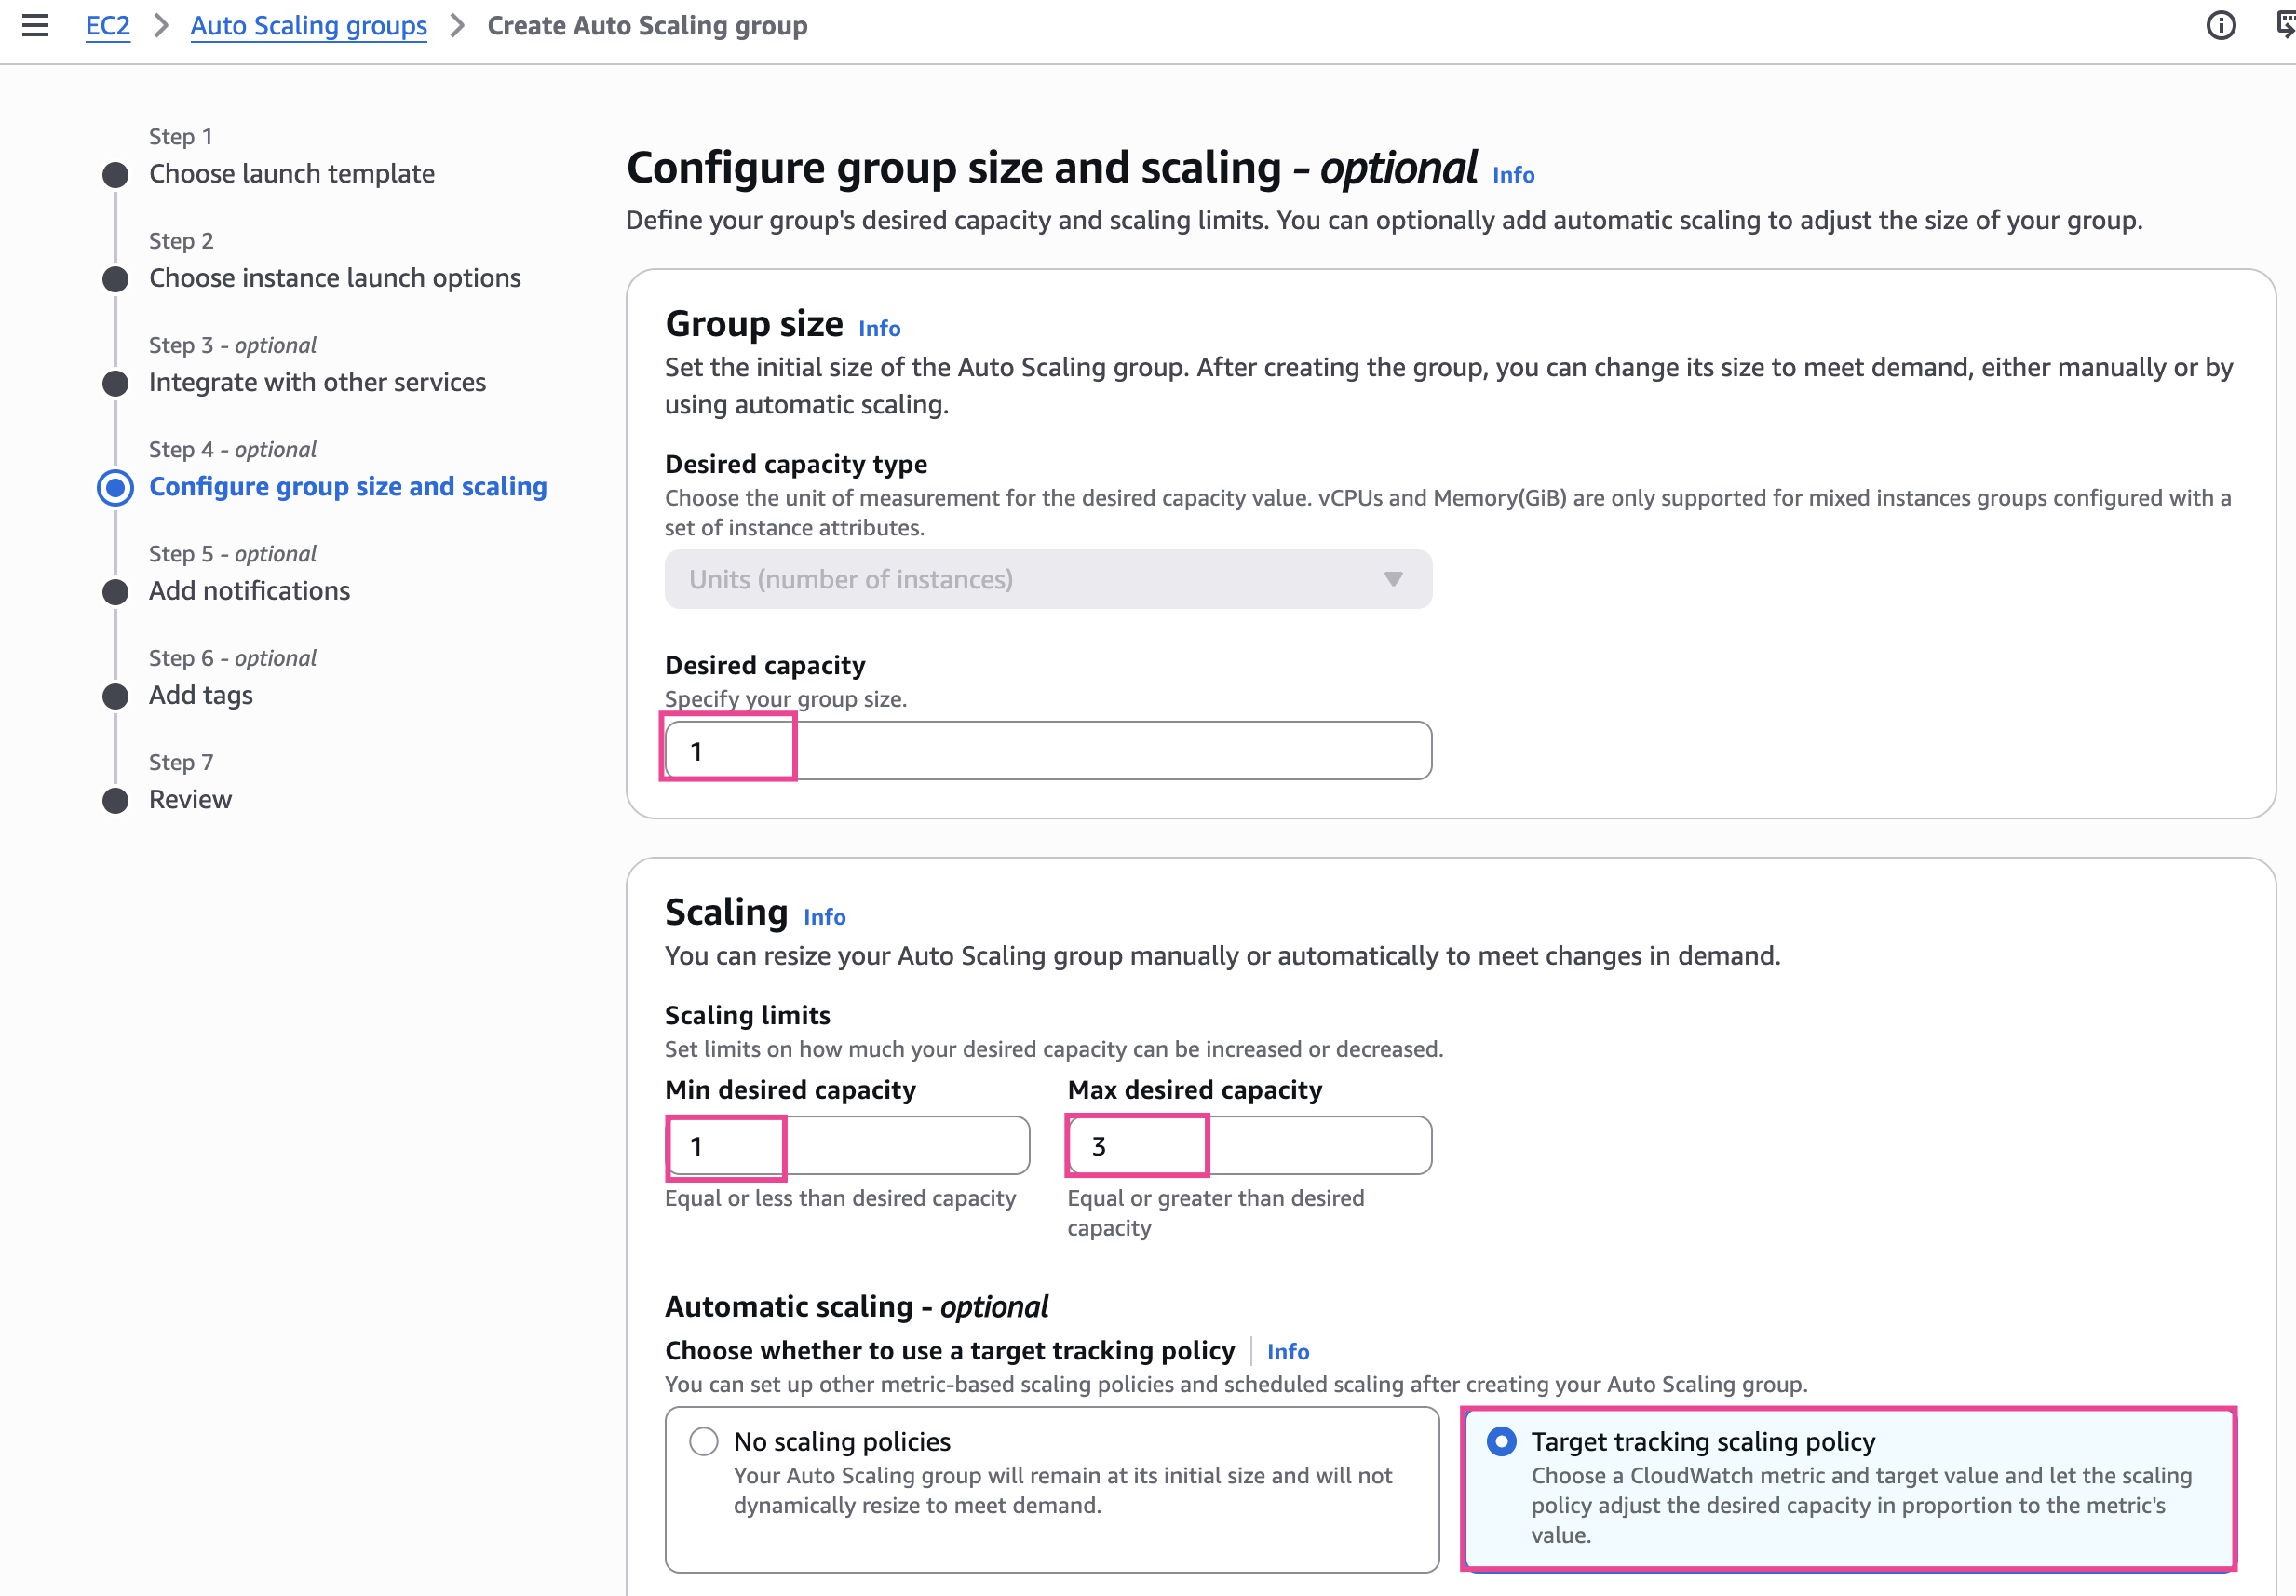
- Desered:
1 - Scaling
- Min:
1 - Max:
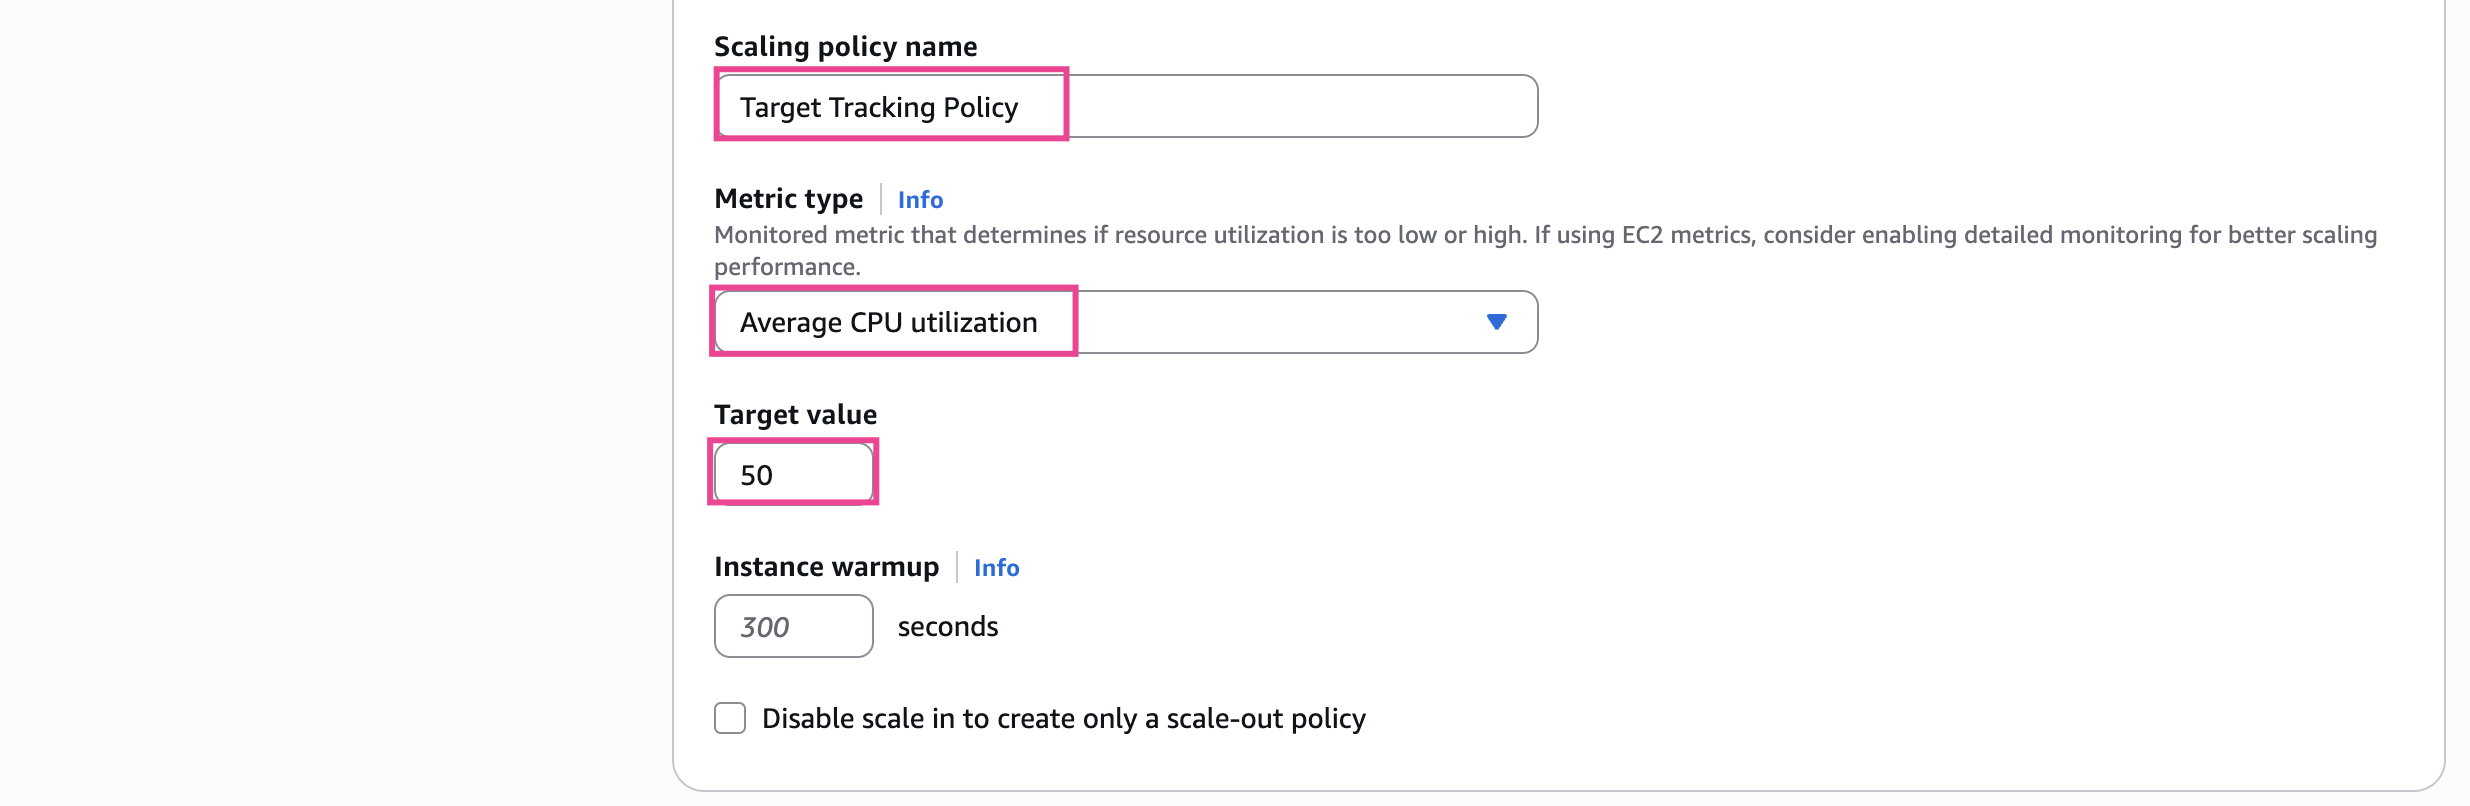
3 - Automatic scaling - optional:
Target tracking scaling policy
- Min:
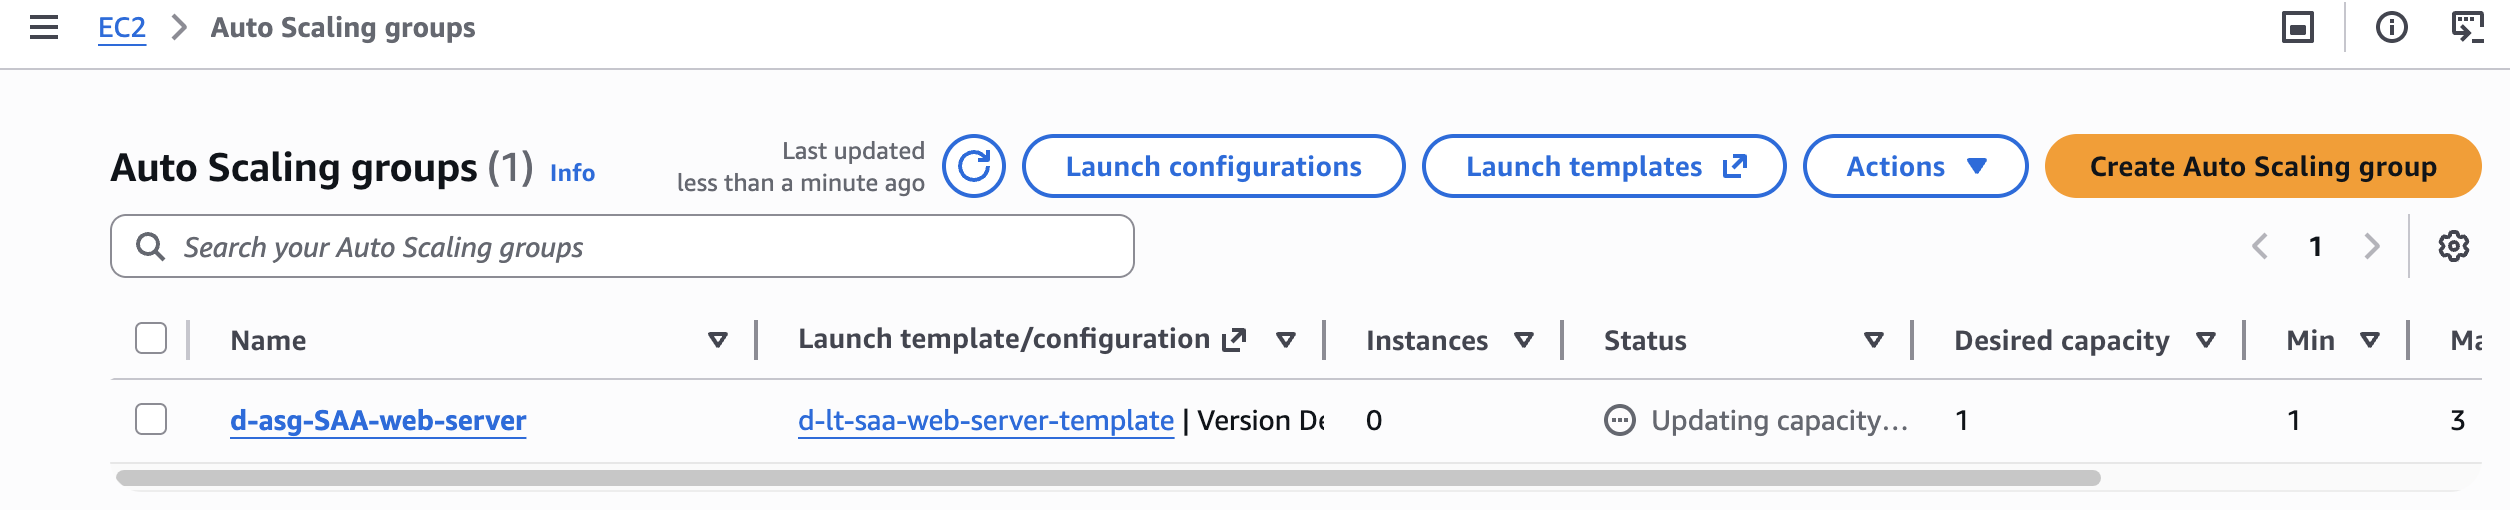
Create Auto Scaling group
Create launch template
Advanced details
Create ASG
Step1: Choose launch template
Step2: Choose instance launch options
Step 3: Integrate with other services - optional
Step 4: Configure group size and scaling - optional
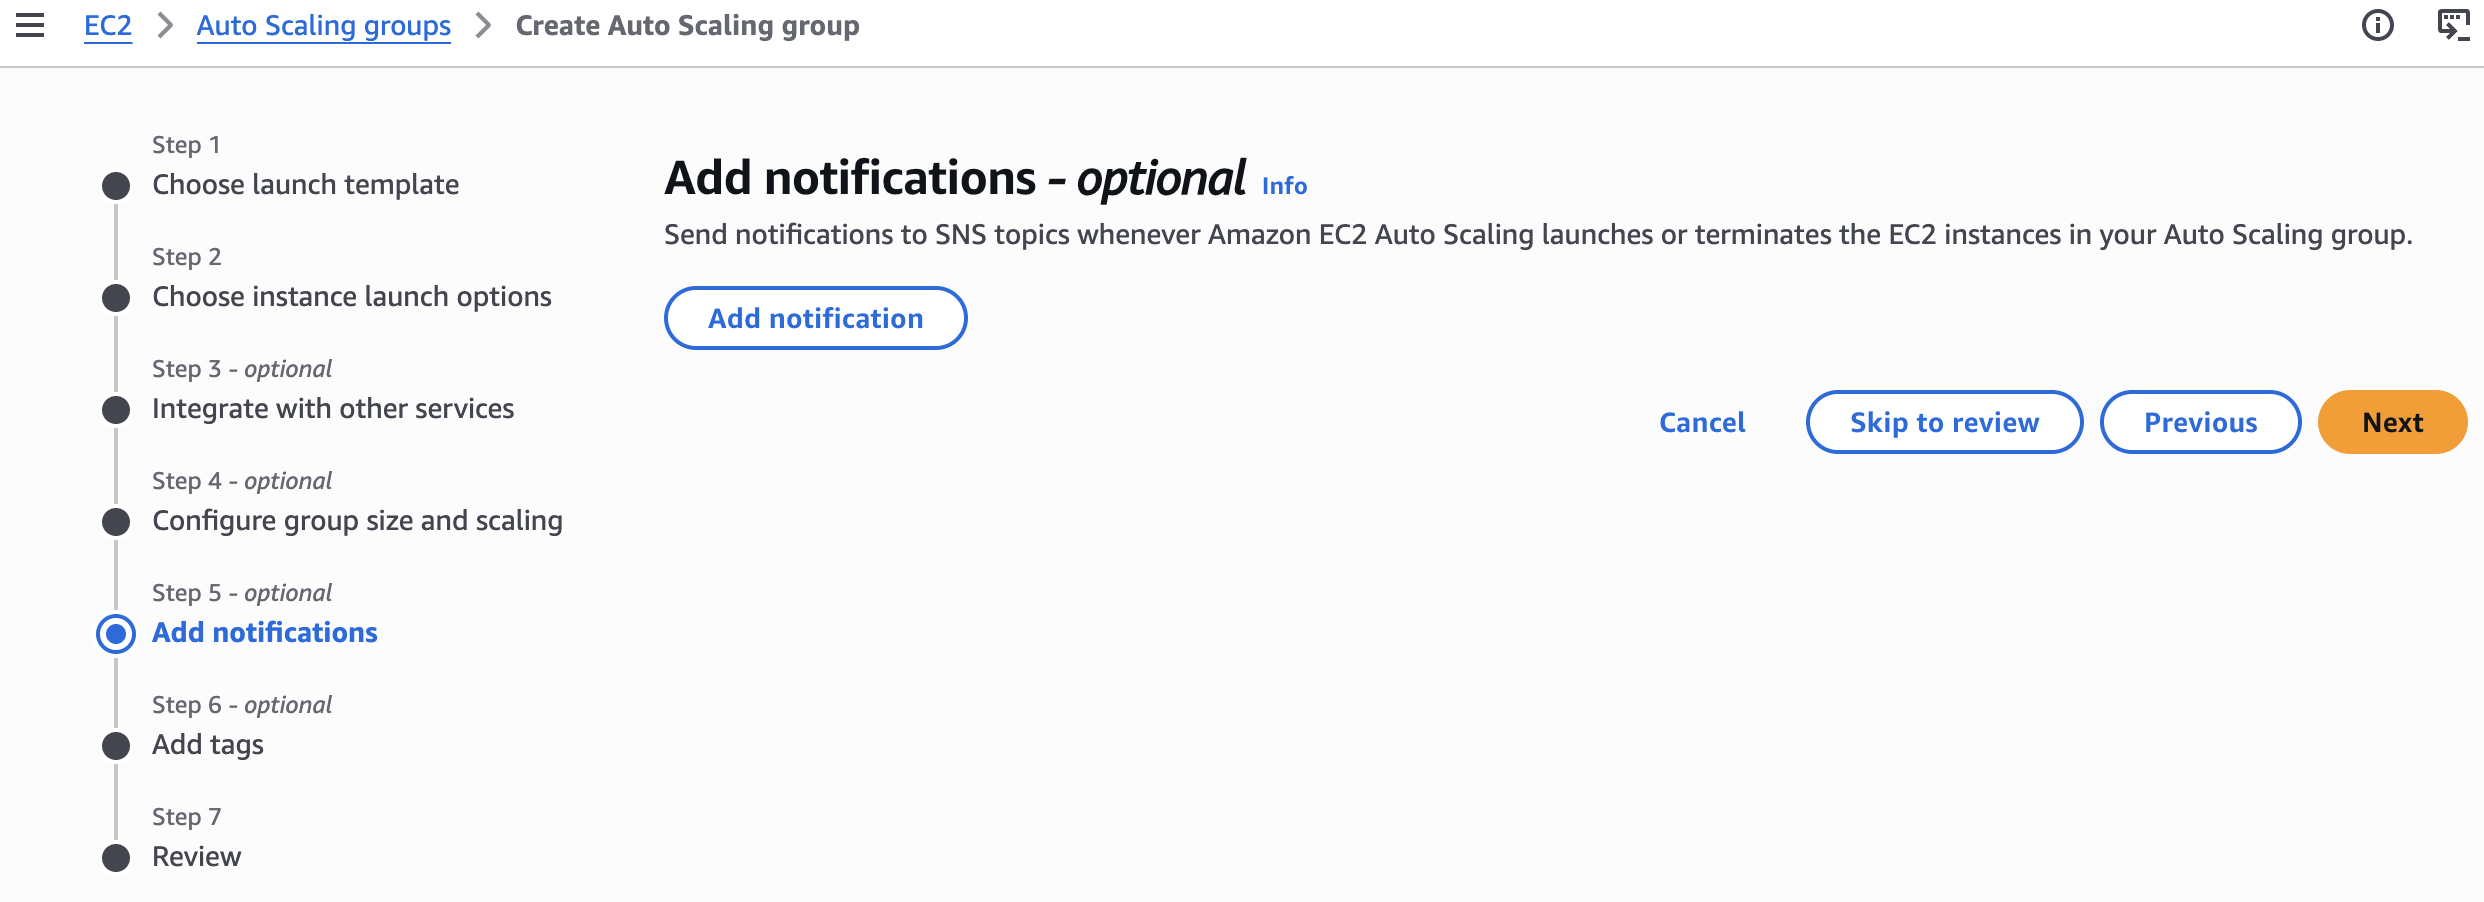
Step 5: Add notifications - optional
Step 6: Add tags - optional
Step 7: Review and create ASG
Kết quả
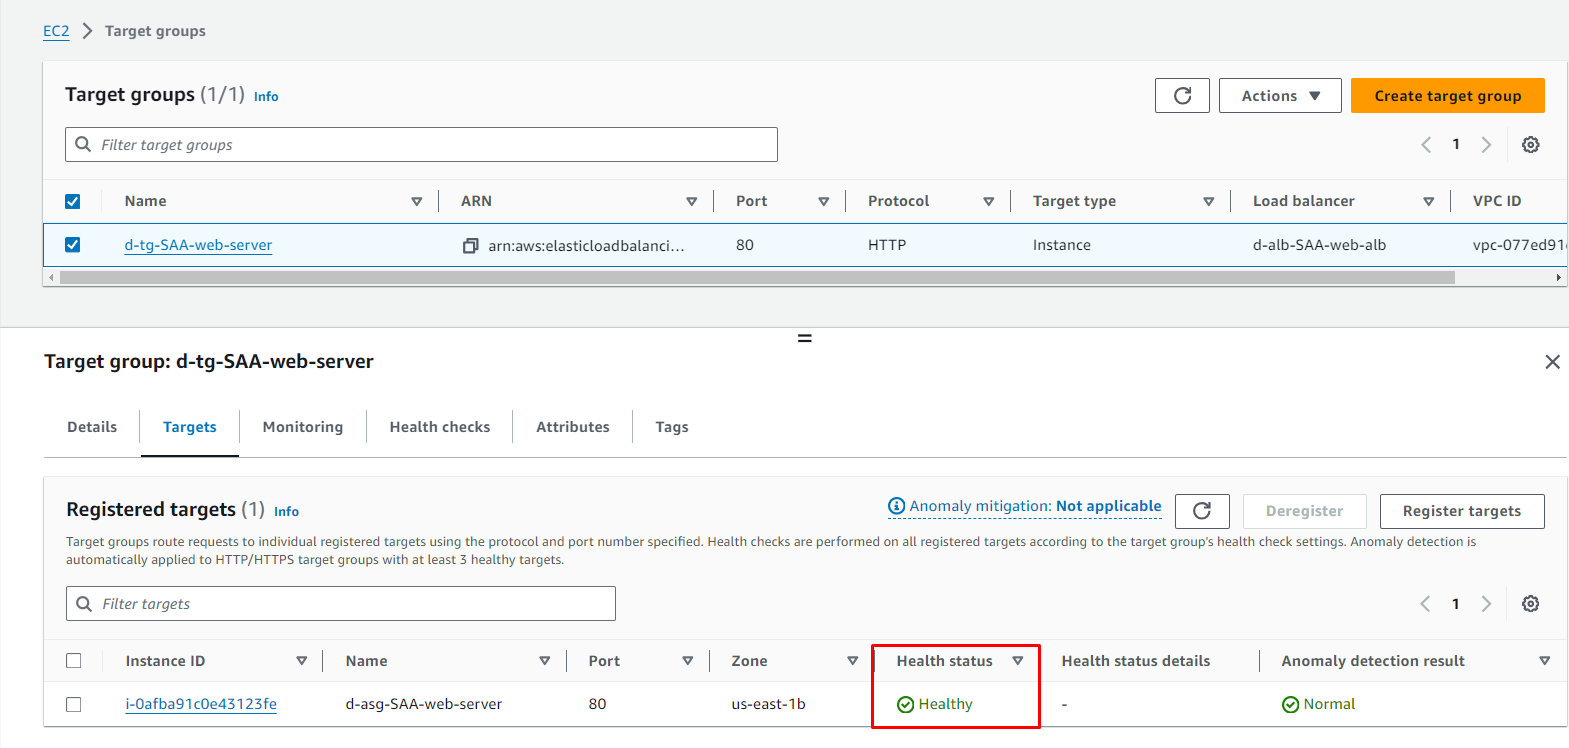
Confirm TG (đợi đến khi EC2 khởi động hoàn toàn thì health check sẽ báo là Healthy)
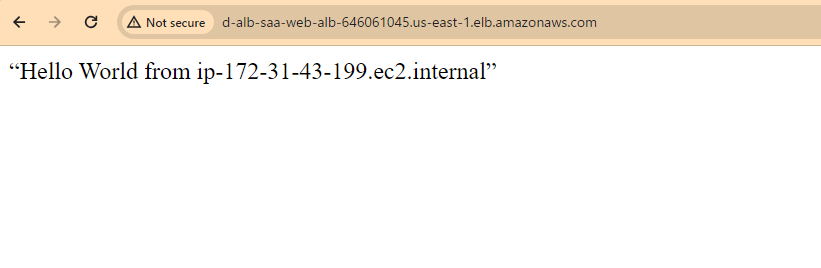
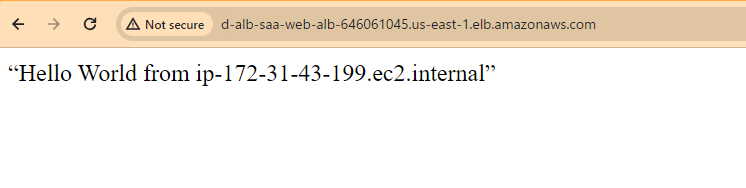
Access DNS của ALB để check kết quả
Stress test
Sau khi có Target Tracking Policy, thì chỉ khi nào CPU vượt lên 50% thì ASG mới Scale out EC2. Chúng ta sẽ manual thực hiện stress test.
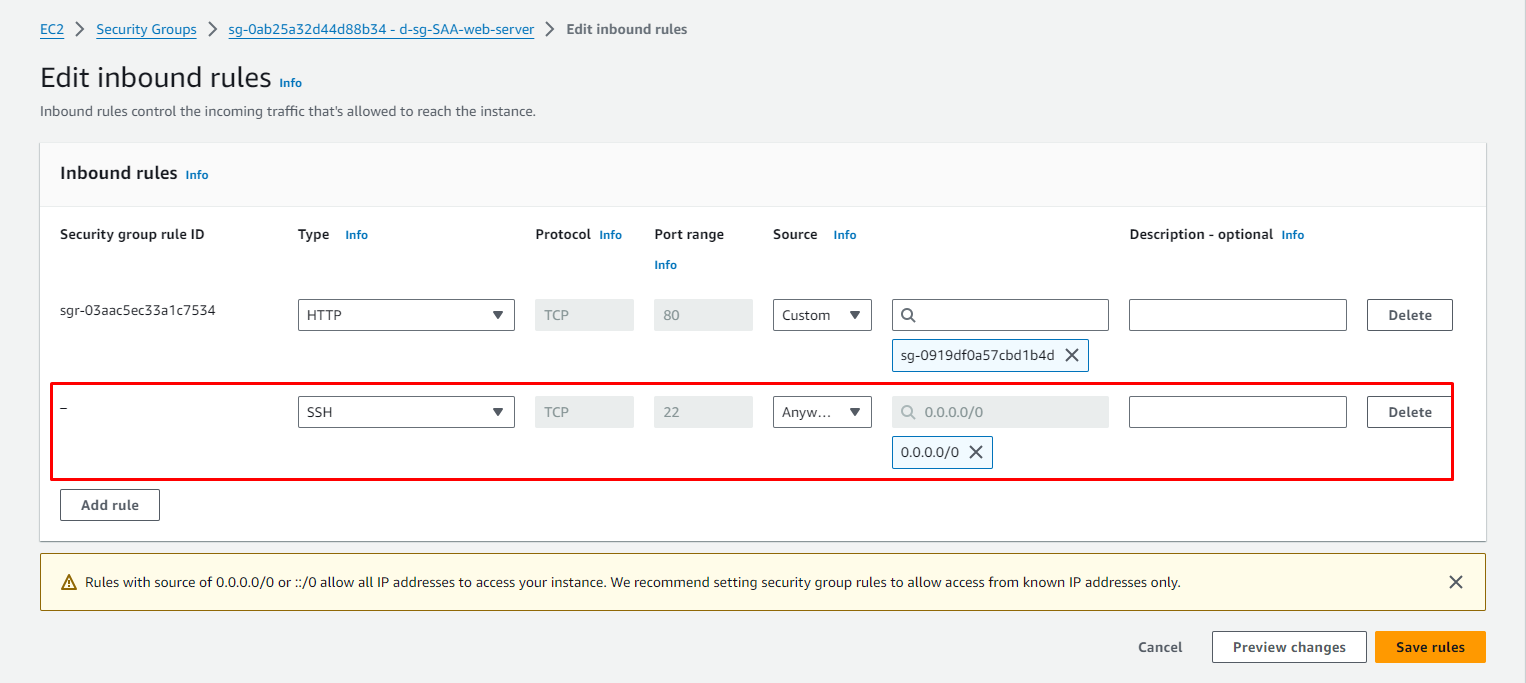
Để có thể Connect đến EC2 thông qua ssh, chúng ta cần modify SG của EC2
Edit SG: d-sg-SAA-web-server, Add Inbound rule
| Type | Protocol | Port range | Source |
|---|---|---|---|
| HTTP | TCP | 80 | Security group of ALB |
| SSH | TCP | 22 | 0.0.0.0/0 |
Connect to EC2 and run command:
sudo yum install stress -y
sudo stress -c 4
Chúng ta cần đợi 5 - 10p để ASG collect Metrics
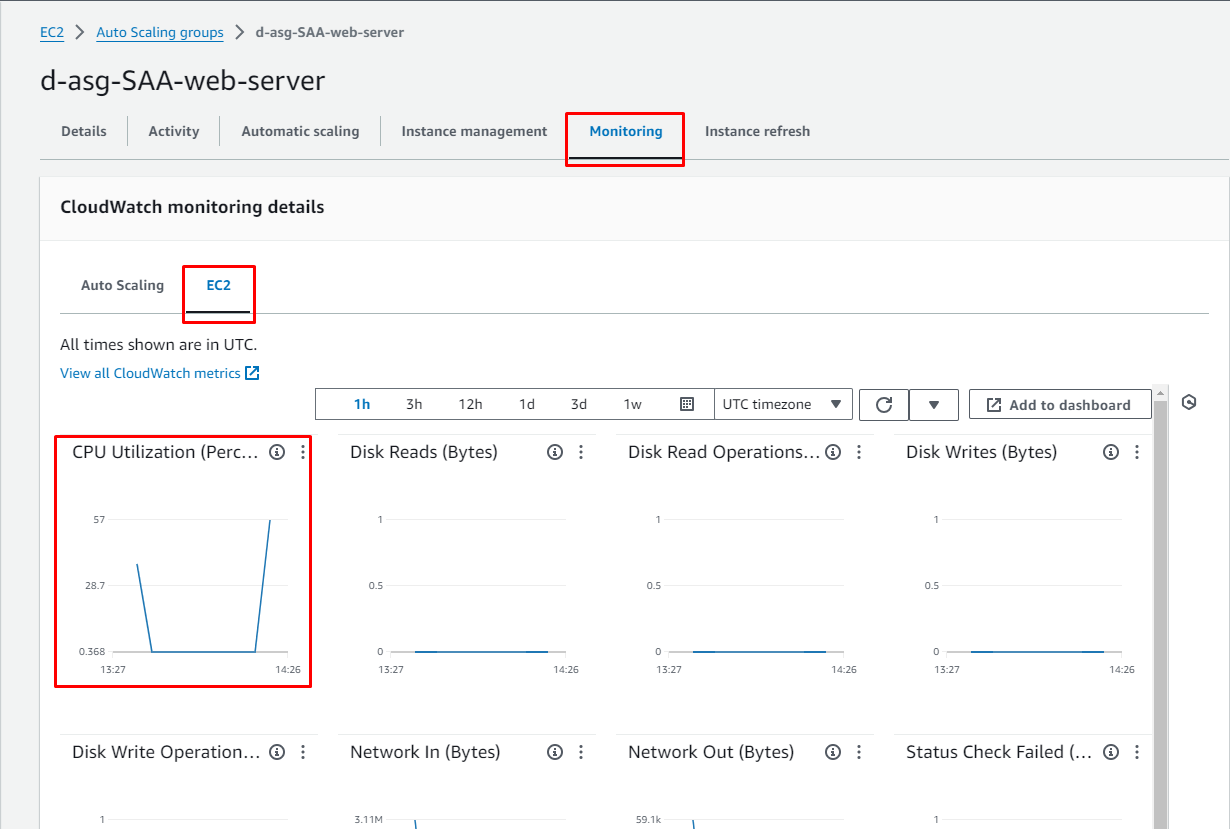
Khi CPU vượt ngưỡng 50%, EC2 sẽ được tạo thêm theo như scaling policy
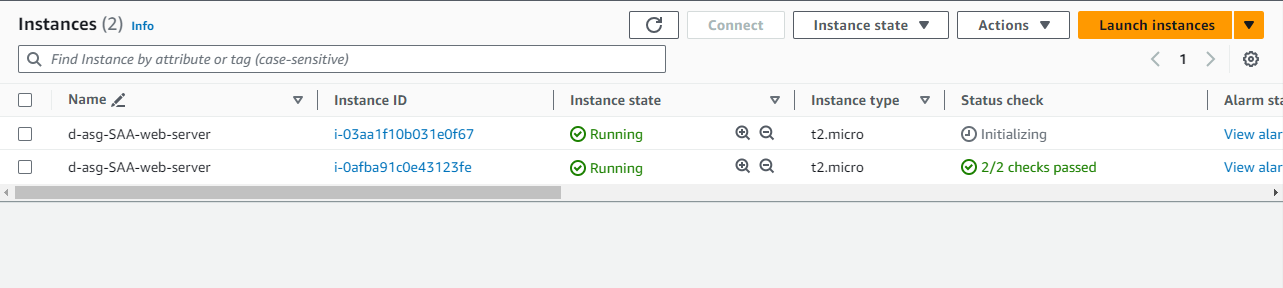
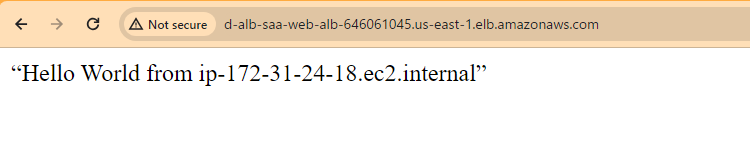
Confirm ALB đã có thể Load balancer giữa 2 Instance
Clean up
- Delete ASG:
d-asg-SAA-web-server - Delete Launch Template:
d-lt-saa-web-server-template - Delete ALB:
d-alb-SAA-web-alb - Delete Taget Group:
d-tg-SAA-web-server
Sau khi 2 EC2 đã ở trạng thái Terminated
- Delete Security Groups (lưu ý theo thứ tự)
- d-sg-SAA-web-server
- d-sg-SAA-alb